Friday, April 6, 2012

Alphabet Dates: A

Yesterday was the beginning of our Alphabet Dating adventure. We had seen this idea from a friend on Facebook and thought it would be fun to start...give us something to spice things up a bit. I started looking online for some ideas on various dates we could do. One website that has ideas is The Romantic Vineyard and another is $30 Date Nights.

I was in charge of A and here is what we did:


We decided to do an Afternoon date, following the A theme. Our first stop was for American Cuisine at the Burger Lounge...A really good burger place in Southern California. We went to the one in Little Italy, San Diego.


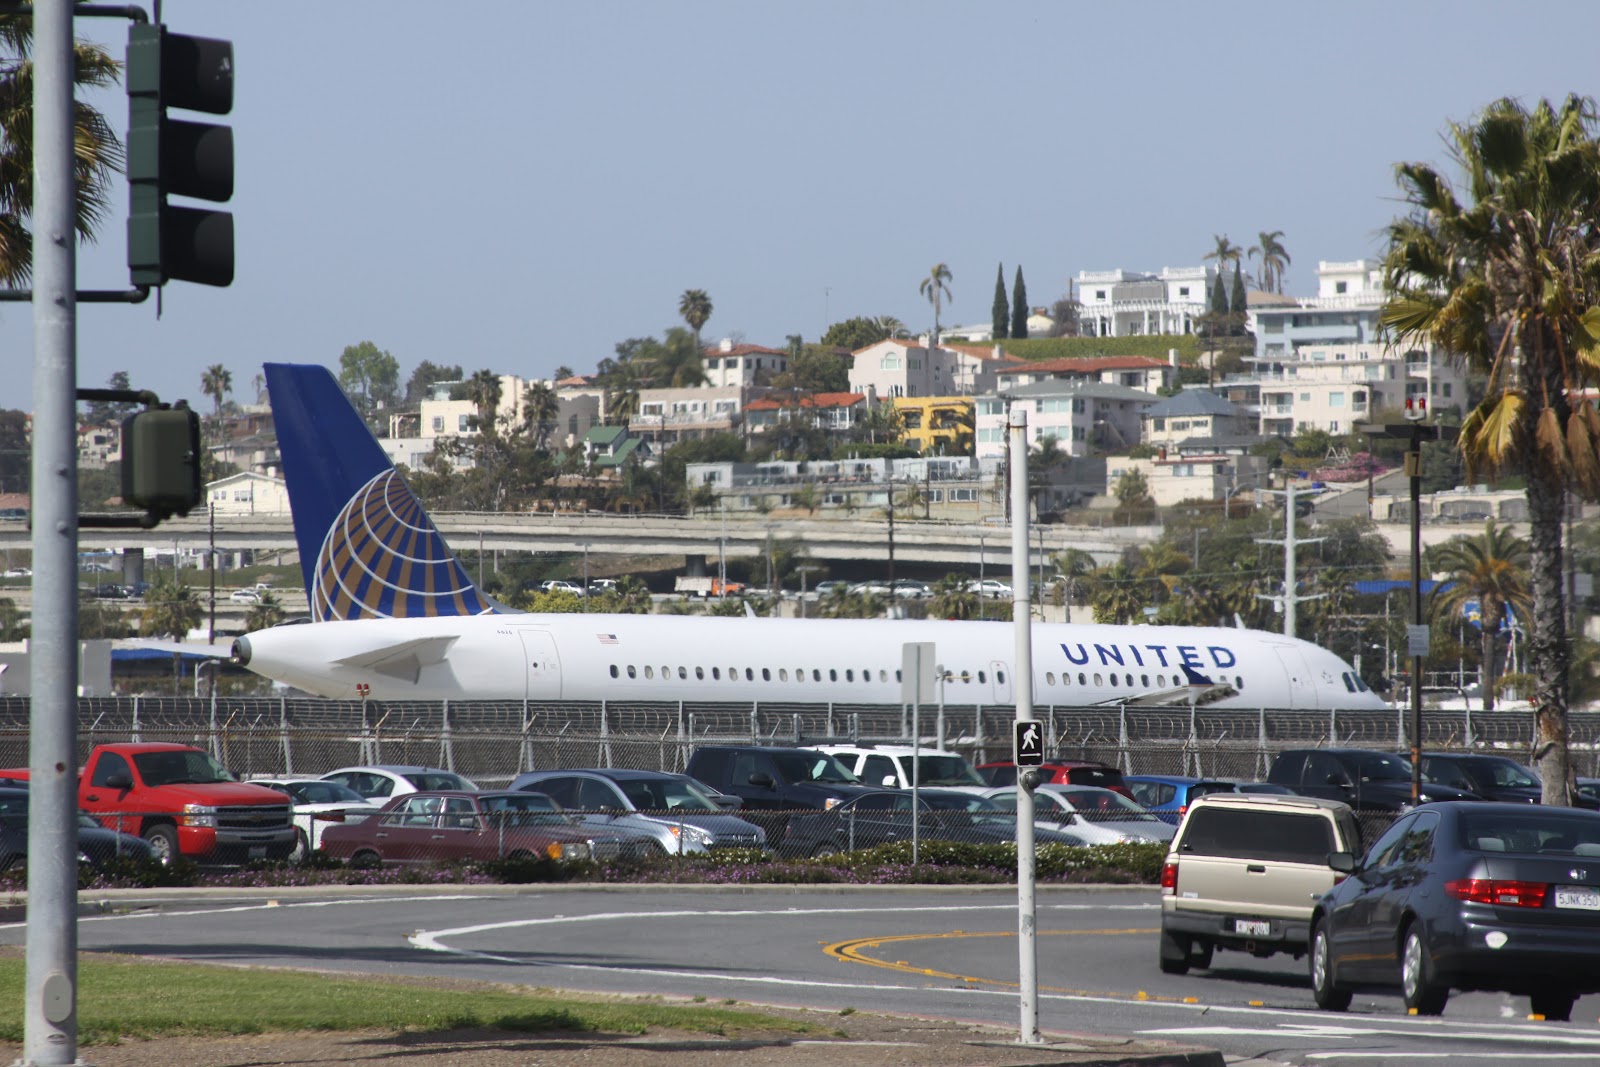
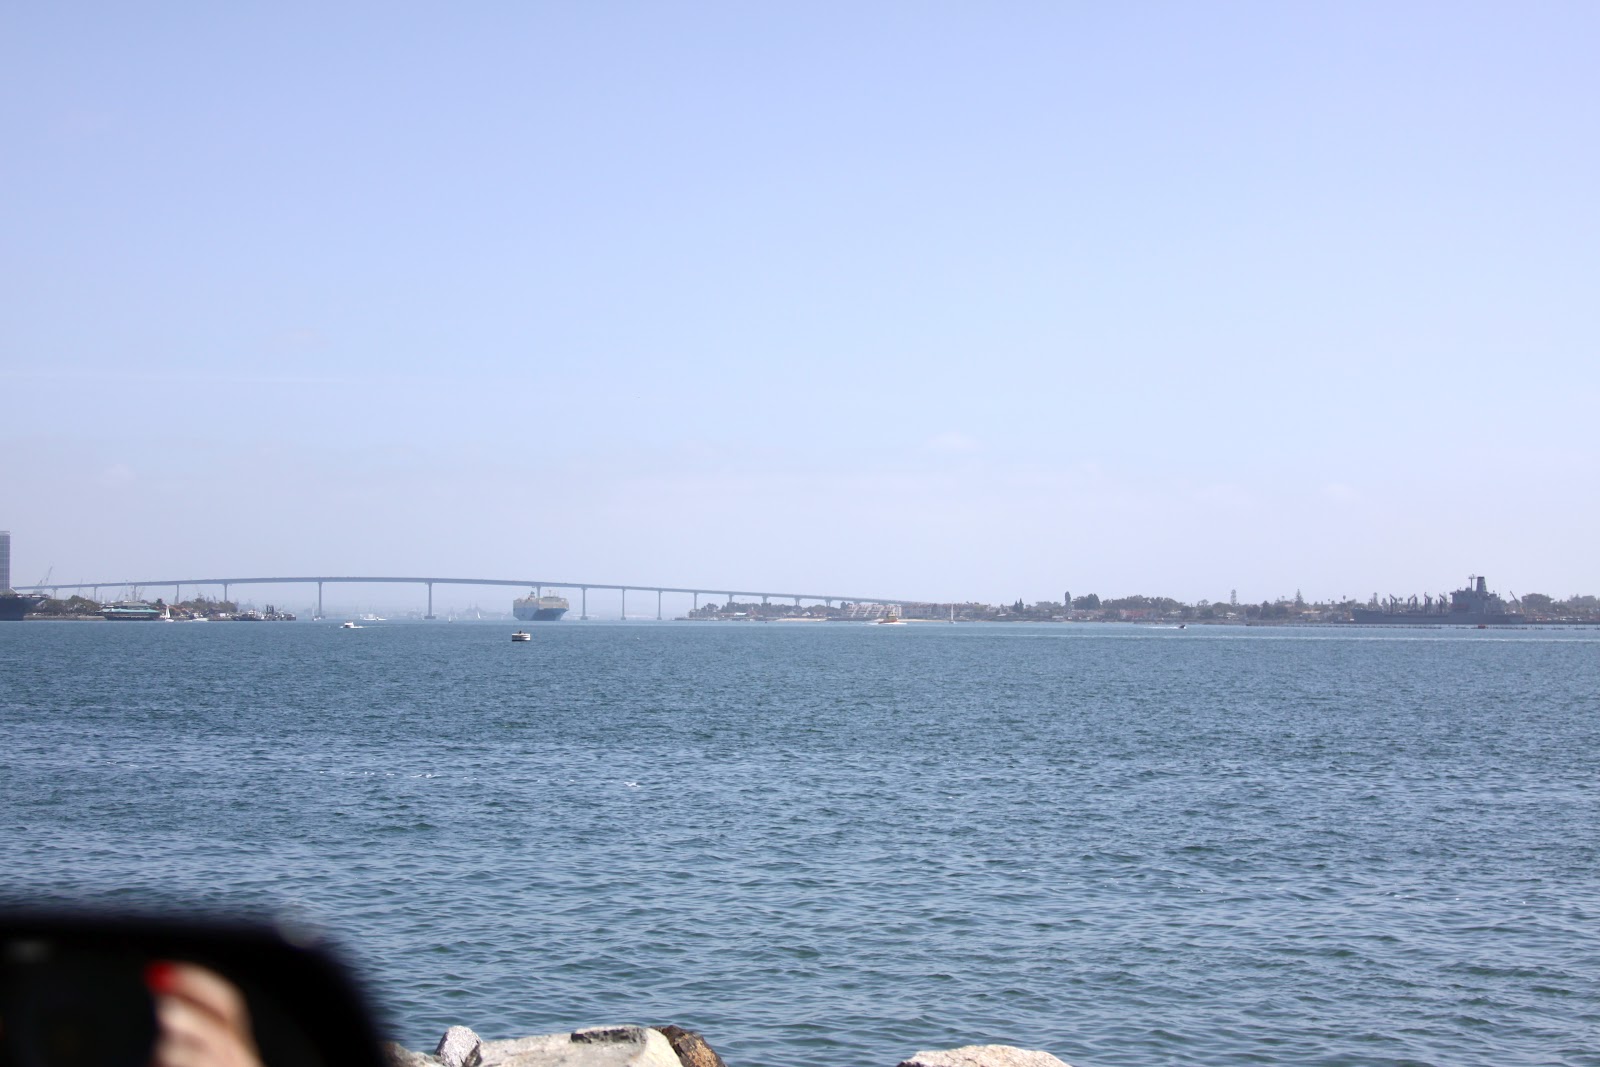
We then drove to Harbor Island where we parked on the San Diego Bay, directly across from the Airport and watched the planes take off as well as watched Aquatic vehicles aka boats glide through the bay. We saw a cruise ship come in and dreamt a bit about the various cruises and trips we would like to go on some day.


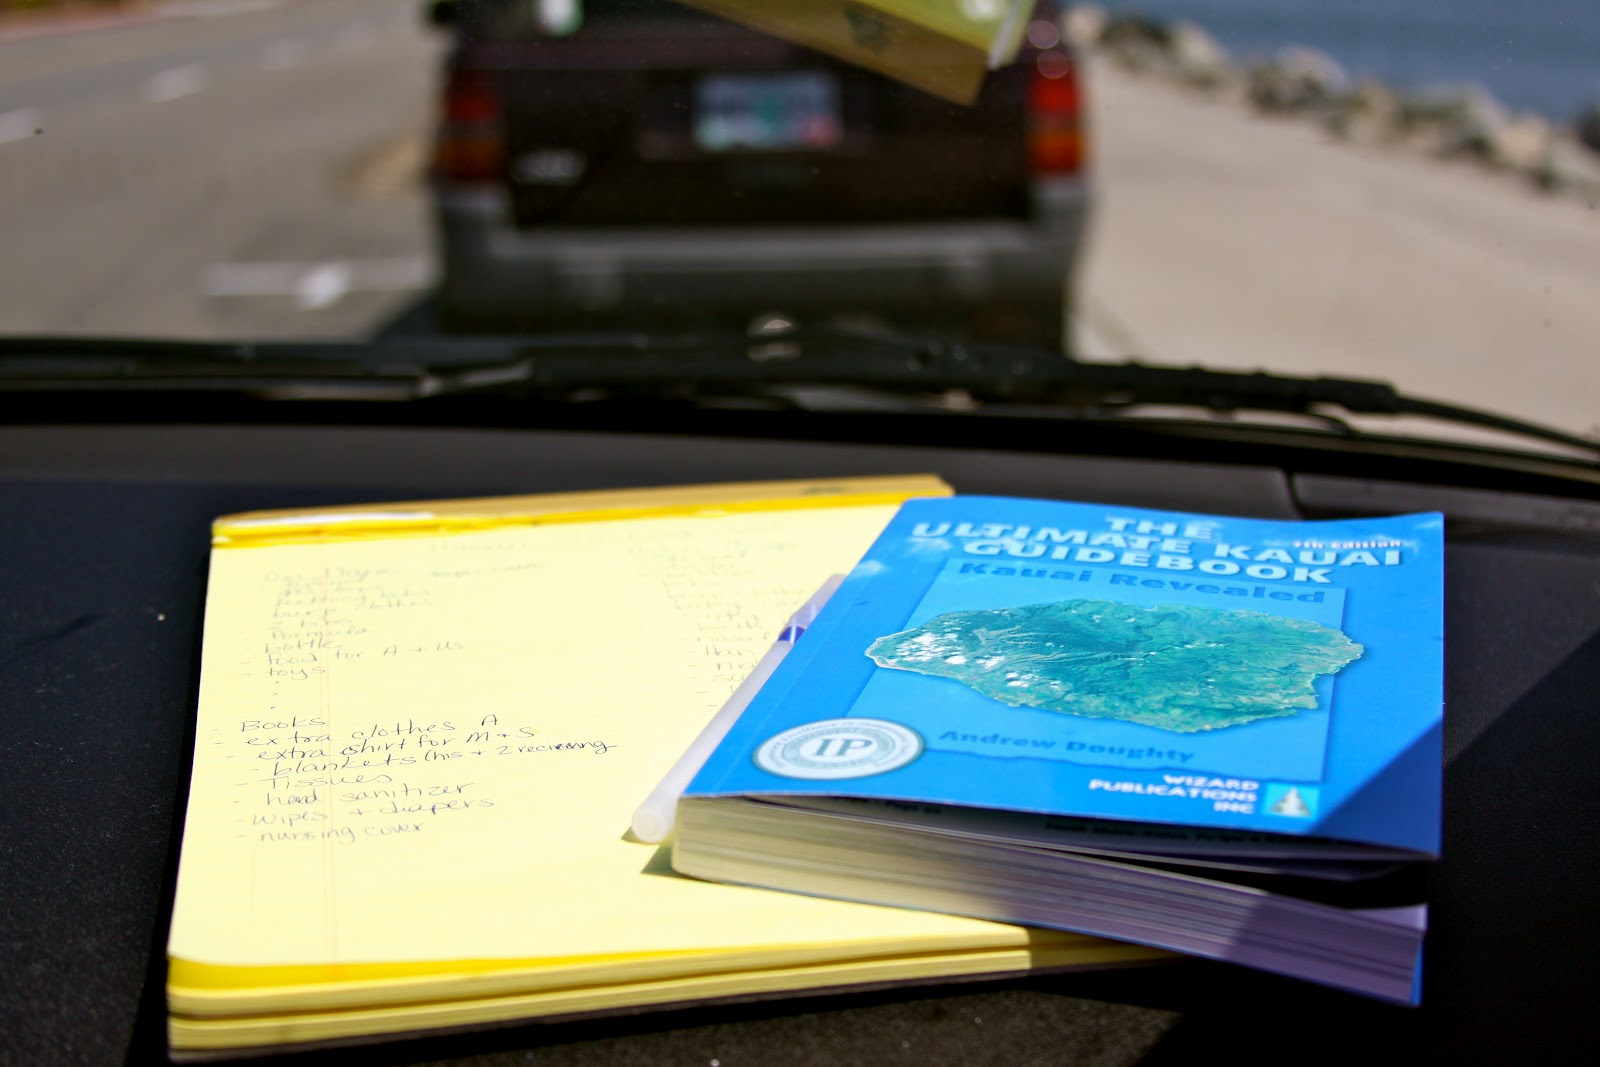
As we sat there, we started making plans for our most recent Adventure: Hawaii. We are going in May with my mom and Maxwell's parents and brothers. It should be fun and definatly an adventure with a 7 month old boy :). 

We really enjoyed this date and can't wait to do the next. The goal is to do one every 2 weeks but we'll see if that actually happens.


"Bumble" Ice Eggs

With Easter two days away, we are doing some fun activities in our house. I love spreading holidays out and enjoying them for a few days instead of just one.

Today we will be decorating traditional hard boiled eggs and tomorrow we will be doing our Easter baskets because my husband works at the church we attend and won't be home in the morning. Plus our day is filled with family events after church. It should be a fun, tiring day :)

Well, a few days ago, we started the process for "Bumble" Eggs, as my husband has named them. If you don't know what a Bumble is, it's the monster from Rudolf the Red Nose Reindeer. They are ice eggs and are so much fun! Here's how to make them.

What you need:
water balloons
water
food coloring (optional but fun)

  1. Drop 1-2 drops of food coloring into the water filled balloon. Tie it off.
  2. Fill the water balloons. Tie off.
  3. Shake the balloon if you want it a solid color or just leave it be and you get a little bit of a swirl, depending on how much they get jostled. 
  4. Place balloons in the freezer for 24 hours.
  5. Pull out when you are ready to use them (remember they do melt). Cut the balloon off, we used a knife and cut around the egg.
  6. Enjoy! Play a game of cold egg(like hot potato). Watch them melt. Place in a bowl in the center of your table as decoration....Or as my husbands family used to do, throw them in the middle of the street and watch them explode (they were such boys :)).

Tuesday, April 3, 2012

Sweet Potatoes

This is one of my son's most favorite foods. This week, we have started adding a little cinnamin to give his taste buds a little treat but to also get him used to more flavors. I would recommend waiting to add "spices" for a few month as you want baby to get used to the flavors you are giving them.


Ingredients:
2 sweet potatoes or yams
Water

Bake your sweet potatoes like you would for you. 400 Degrees for about 1 hour. Peal potatoes and place in a bowl (to use emulsification blender) or blender. Blend the mixture until smooth, adding water to make the mixture the consistency your baby can handle. Very liquid at first and adding less water as they get older.


Allow mixture to cool and place into your freezing container. Freeze over night and then pop out and place into ziplock bags.
To thaw: Pull out 1 hour prior to feeding or microwave for 20-45 seconds depending on size.

Sunday, April 1, 2012

Car Seat Canopy

When I had my Blue Eyed Boy, I didn't even see these things or know about them. I was so frustrated with blankets blowing all over the place and not staying on, or being in the way. Then I went on a walk with a good friend who had a baby 10 days after me and she had one of these. I wanted one really bad but didn't see them any where and she had a friend make it for her. What was I going to do?

Well I didn't get around to making myself one and my sweet little boy is almost out of his infant seat but I made one for my best friend who is having a baby girl at the end of April.

 I used these websites as inspiration:


Supplies:
2 pieces of fabric- 1 yard each
Ribbon about 3/4 yard cut in half (two equal pieces)
Sewing Machine
Pins

  1. Place fabric good side to good side. Pin pieces together, then sew leaving about 5 inches unsown so that you can turn it right side out. 
  2. Turn fabric right side out and flatten. Iron the whole thing making nice edges.
  3. Sew around the edge to finish it nicely and sew in the 5 inches you missed before.
  4. Attach the ribbon. Either with machine or hand sewn. 

 My modification was adding ribbon as the handle fastener rather then strips of fabric. I have also used snaps instead of Velcro... personal preference.

Linked up with: Our Fifth House Pin-it Make-It
Blogging tips