Thursday, February 28, 2013

Glittery Spring Bunting with Silhouette Designer Edition Software


This year, with Easter in March, I decided to do Spring projects and decorations that could go through the holidays and into April and May.

What you need:

Bunting flags
Double Stick Adhesive
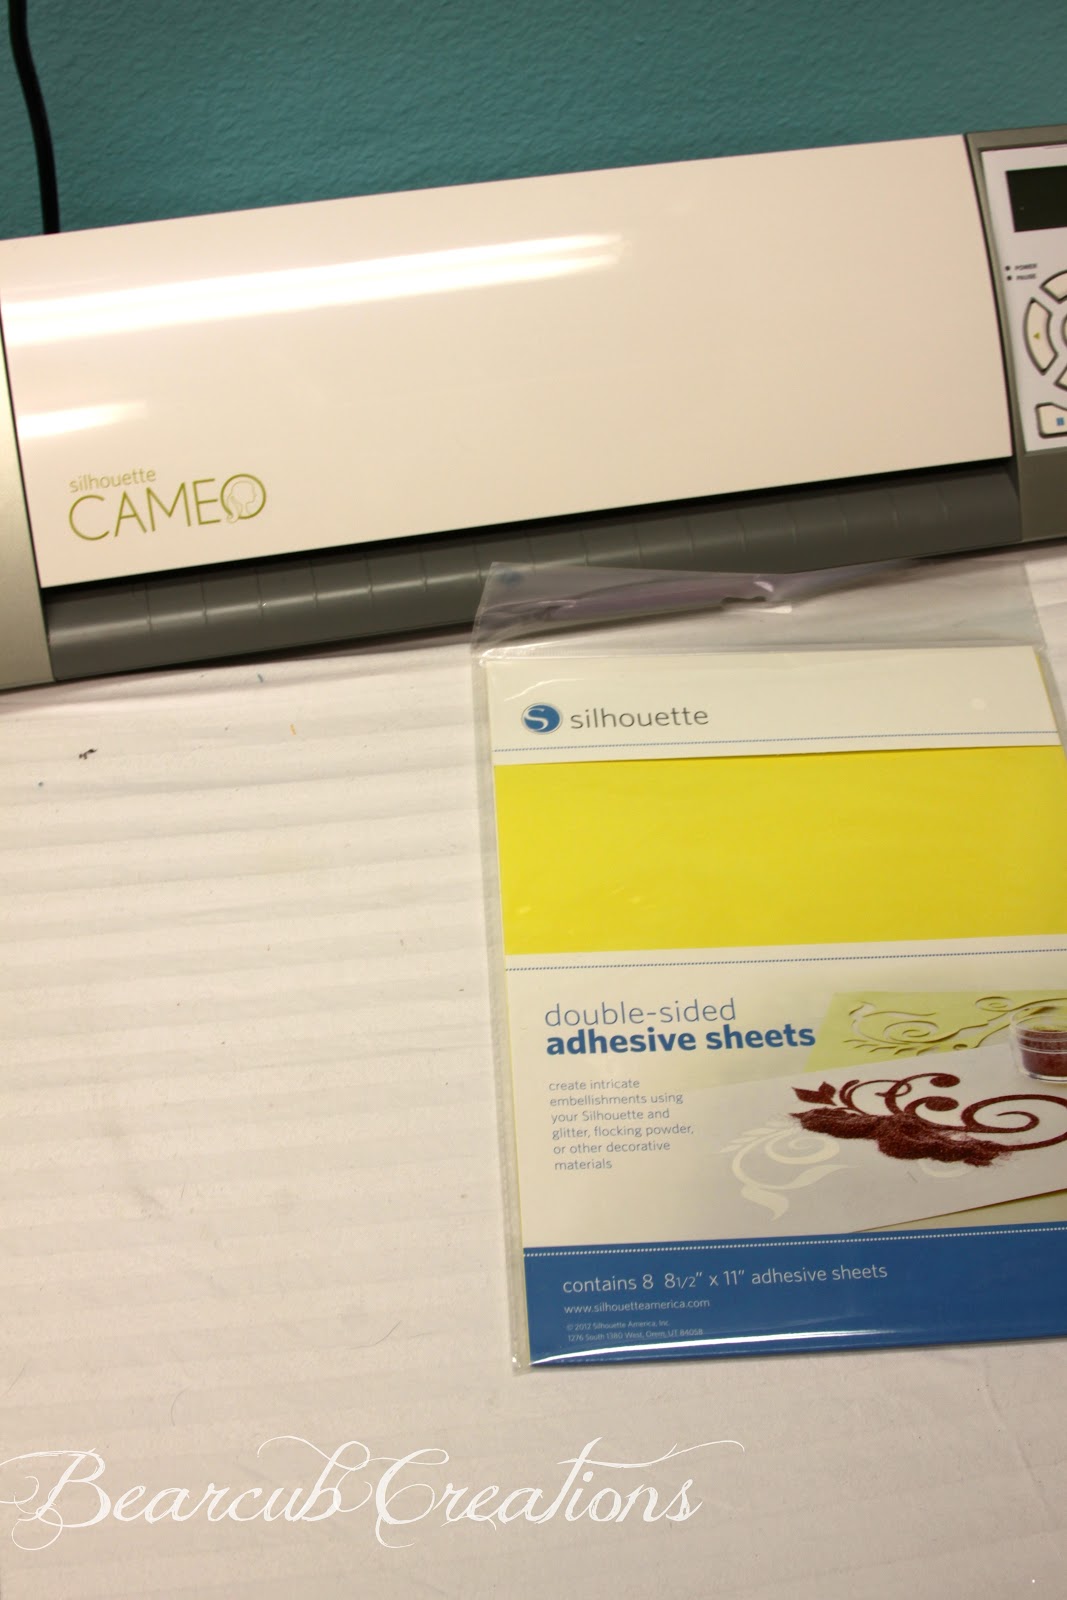
Silhouette Cameo with Designer Edition Software
Glitter
Glue pen, if you have any mistakes to fix
Eyebrow brush
Ribbon

I found these cute burlap on cardboard bunting flags in the dollar section at Michaels. I thought they were so fun and would make the perfect bunting for spring. If you can't find these, you could use paper or plain fabric if you wanted to.
I have also been playing with Silhouettes Double Sided Adhesive a lot lately and am having so much fun. I LOVE glitter and this is the perfect vehicle for it if you don't want to mess with glue or want a more precise shape.

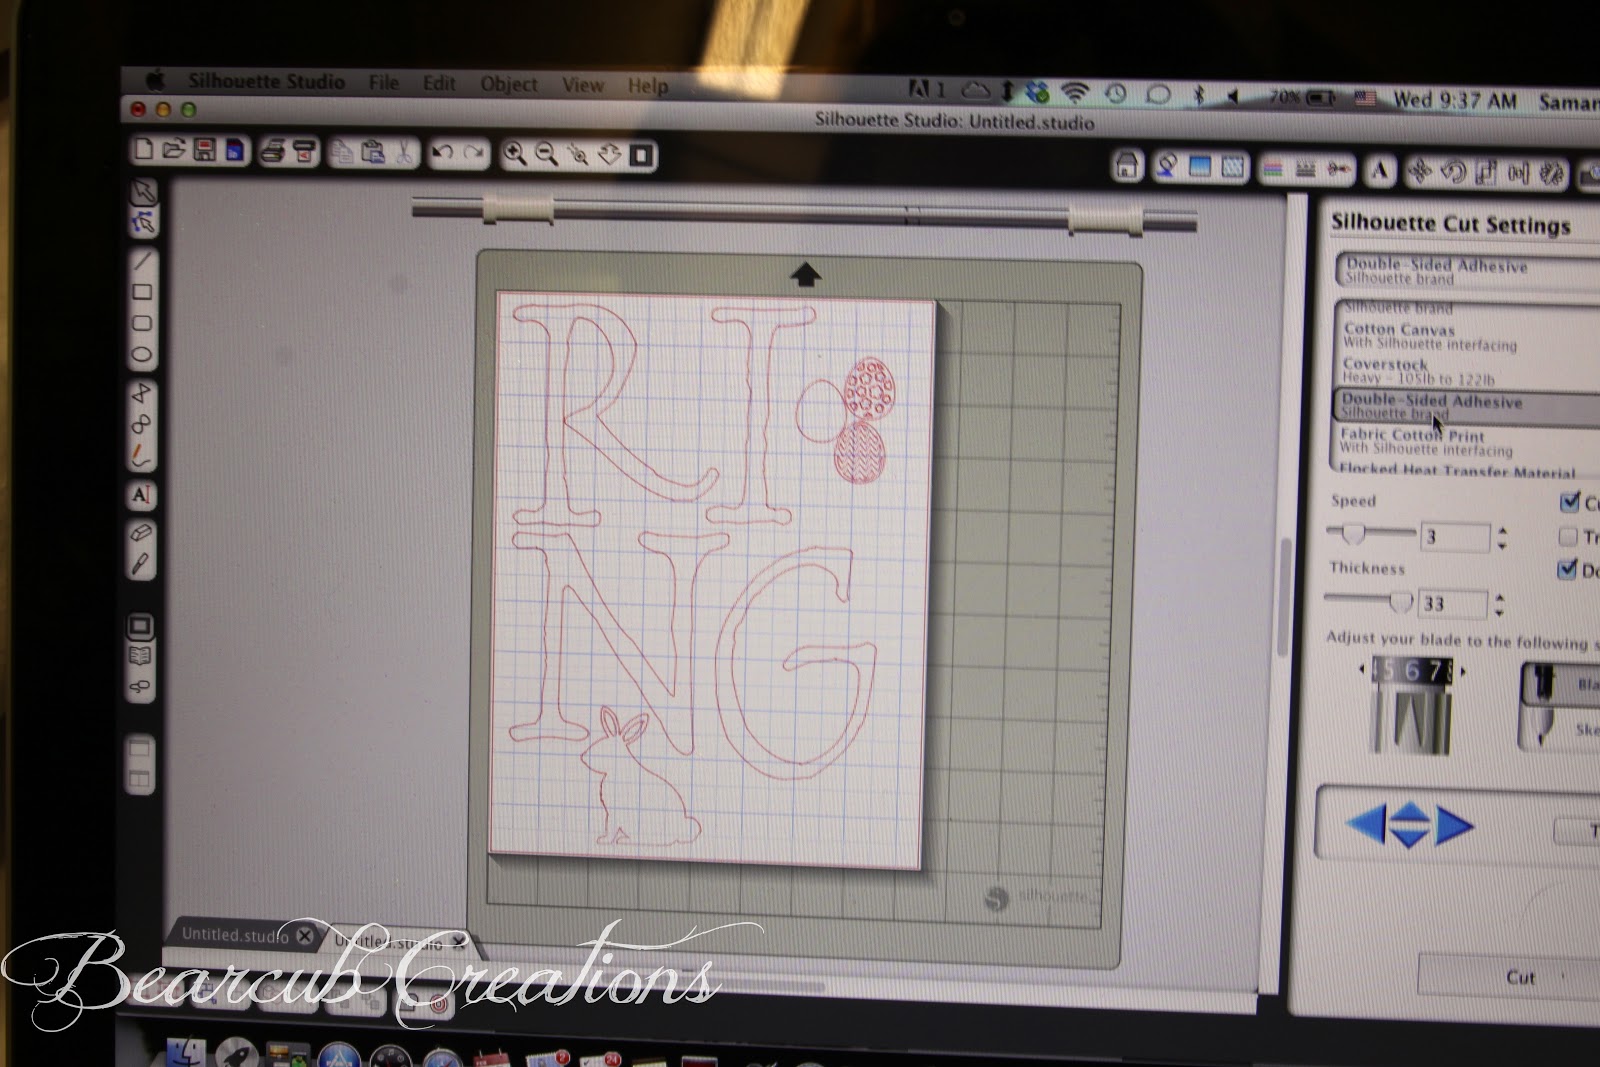
I used my Silhouette Cameo to cut out the shapes and letters, . Recently, I upgraded to the Designer Edition of the Silhouette software and it was so helpful for this project. With the regular software, there aren't these great rulers along the edges. I often need to know the exact spacing and measurement of a shape for my projects, and this feature helped me so much.
It is a great way not to have too much waste and to make sure the image will fit perfectly onto the bunting. I was also able to manipulate the letters a bit to make them wider and longer.
Then I wanted to rotate the umbrella so I Ungrouped the image, which unlocks all parts of the shape (A very handy tool).
Then, using this very handy pivot tool, I rotates the umbrella. There is so much freedom to manipulate images and import your own images if you wish.

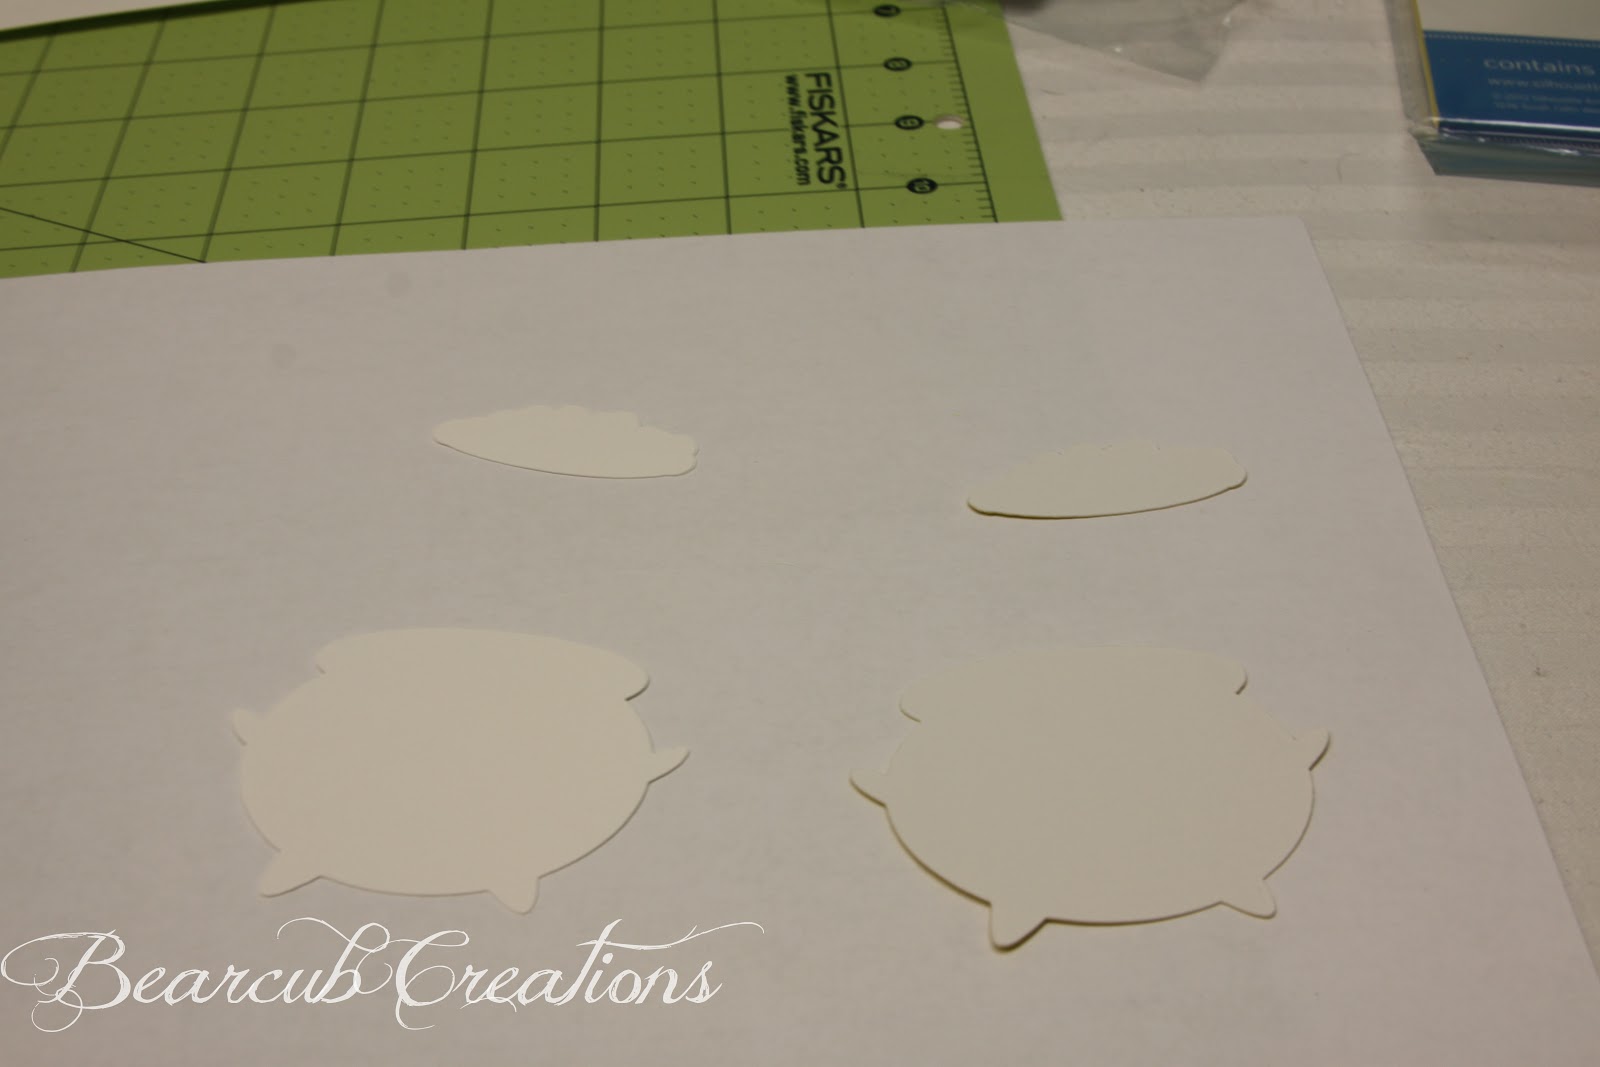
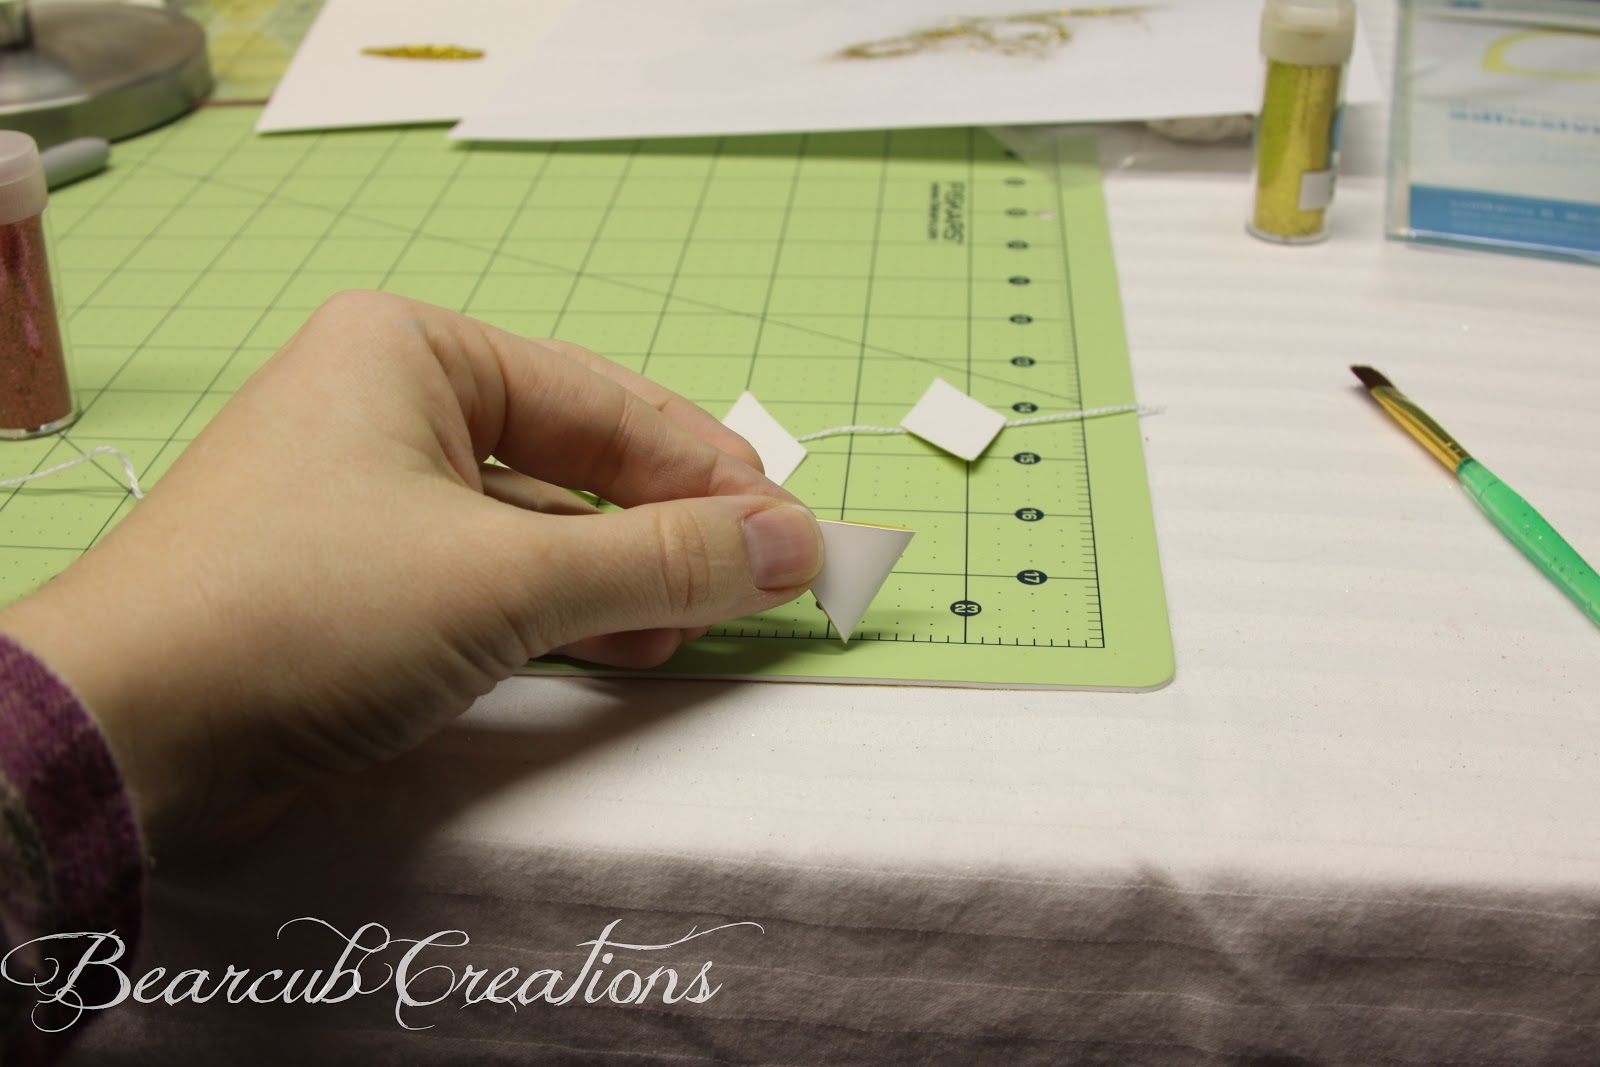
Once the shapes are sized to fit into the space given, the Cameo will cut out the shapes. Peel them off the cutting mat and lay the shapes out onto the bunting to make sure they are the right size and position.

Then peel the yellow side off the back of the shapes and place them onto the bunting flag.  Press and rub to make sure it sticks. It's important to make sure it's really stuck to the flags so that it doesn't come off when you peel the white side.
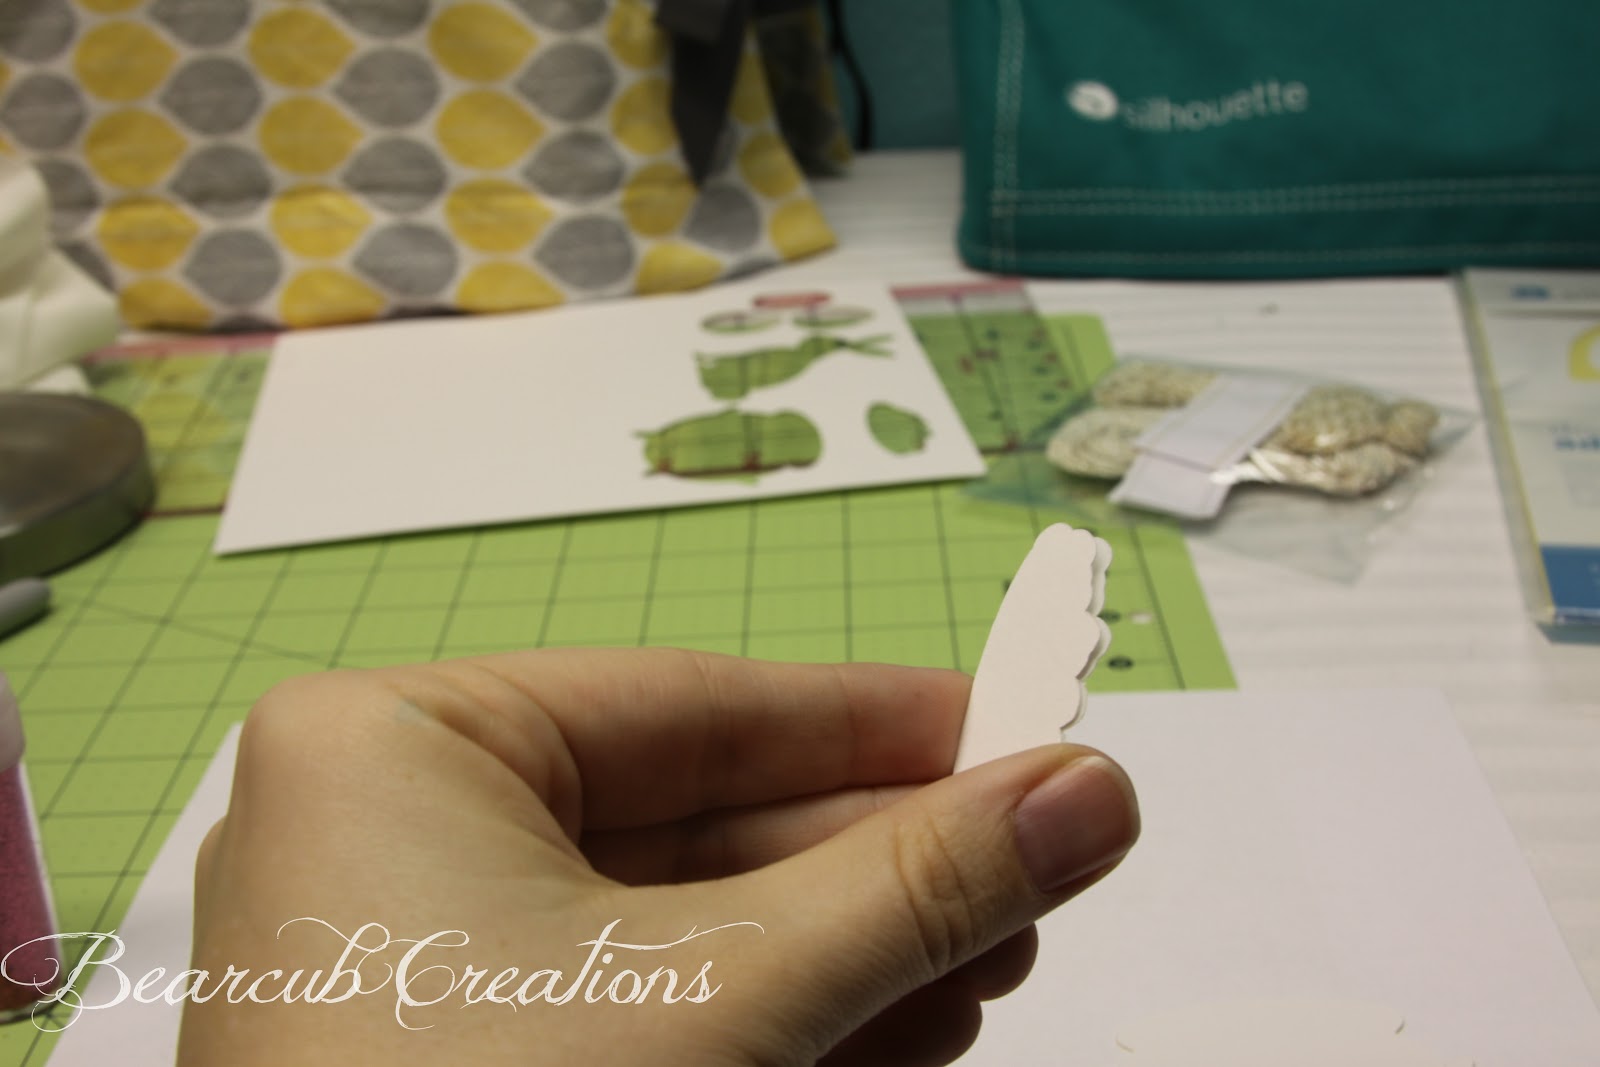
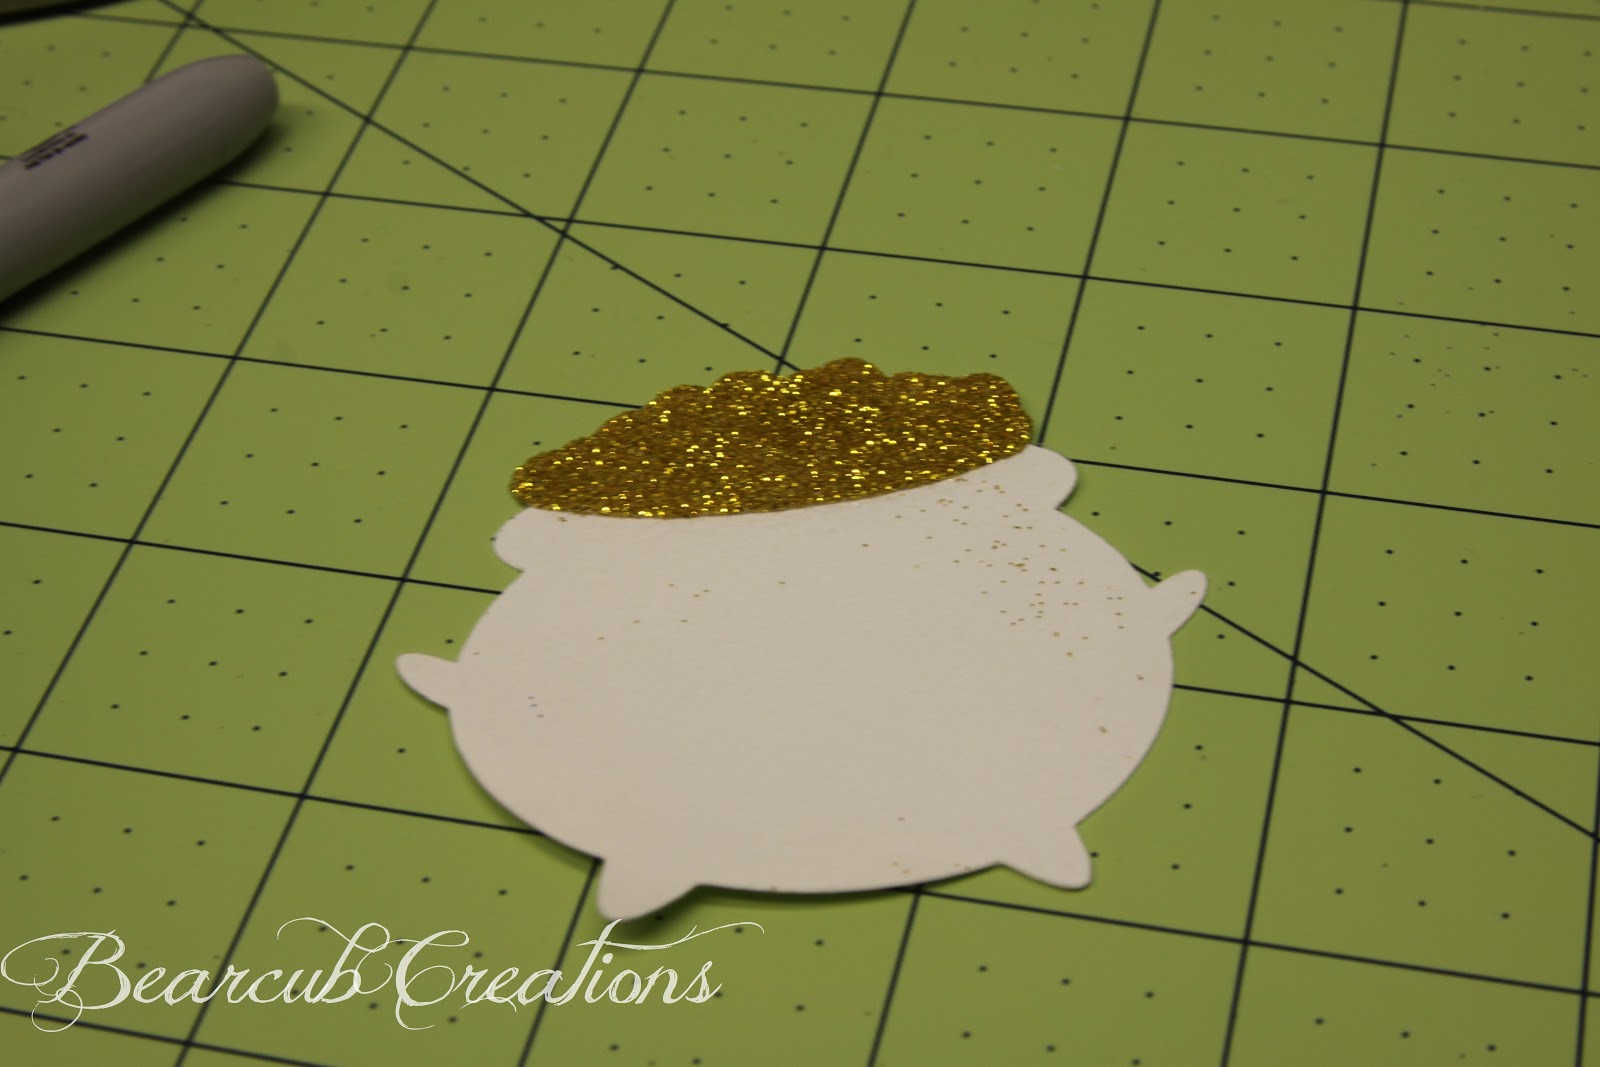
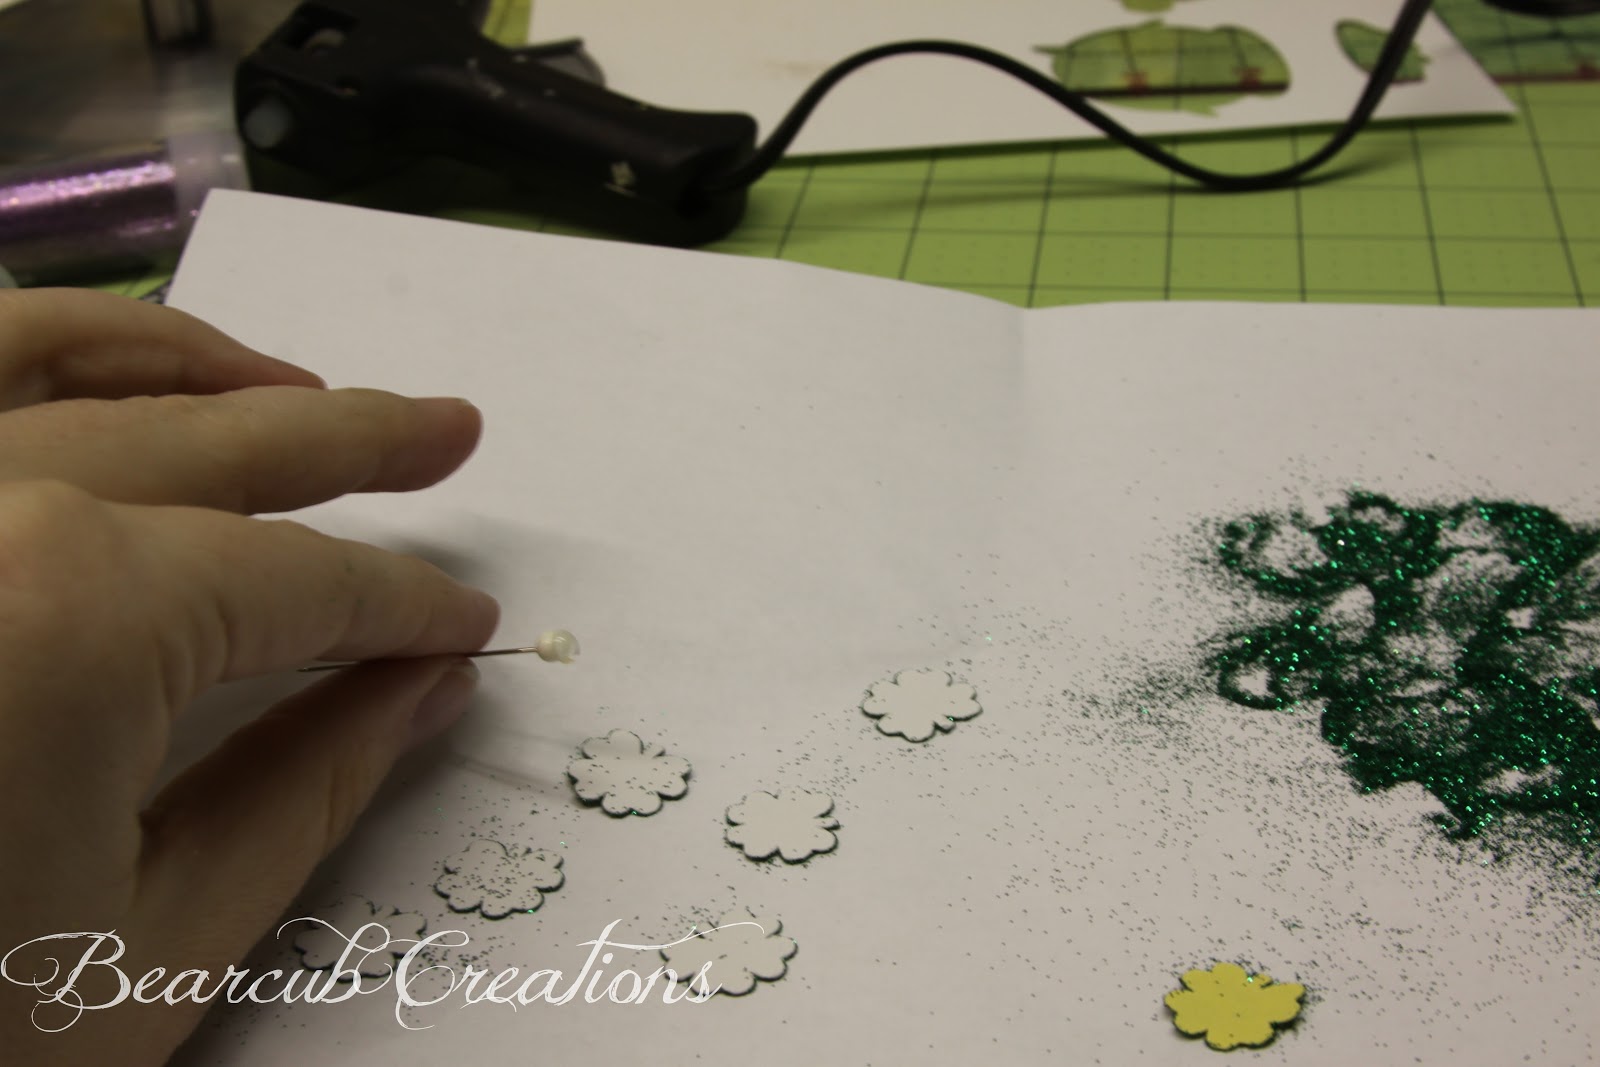
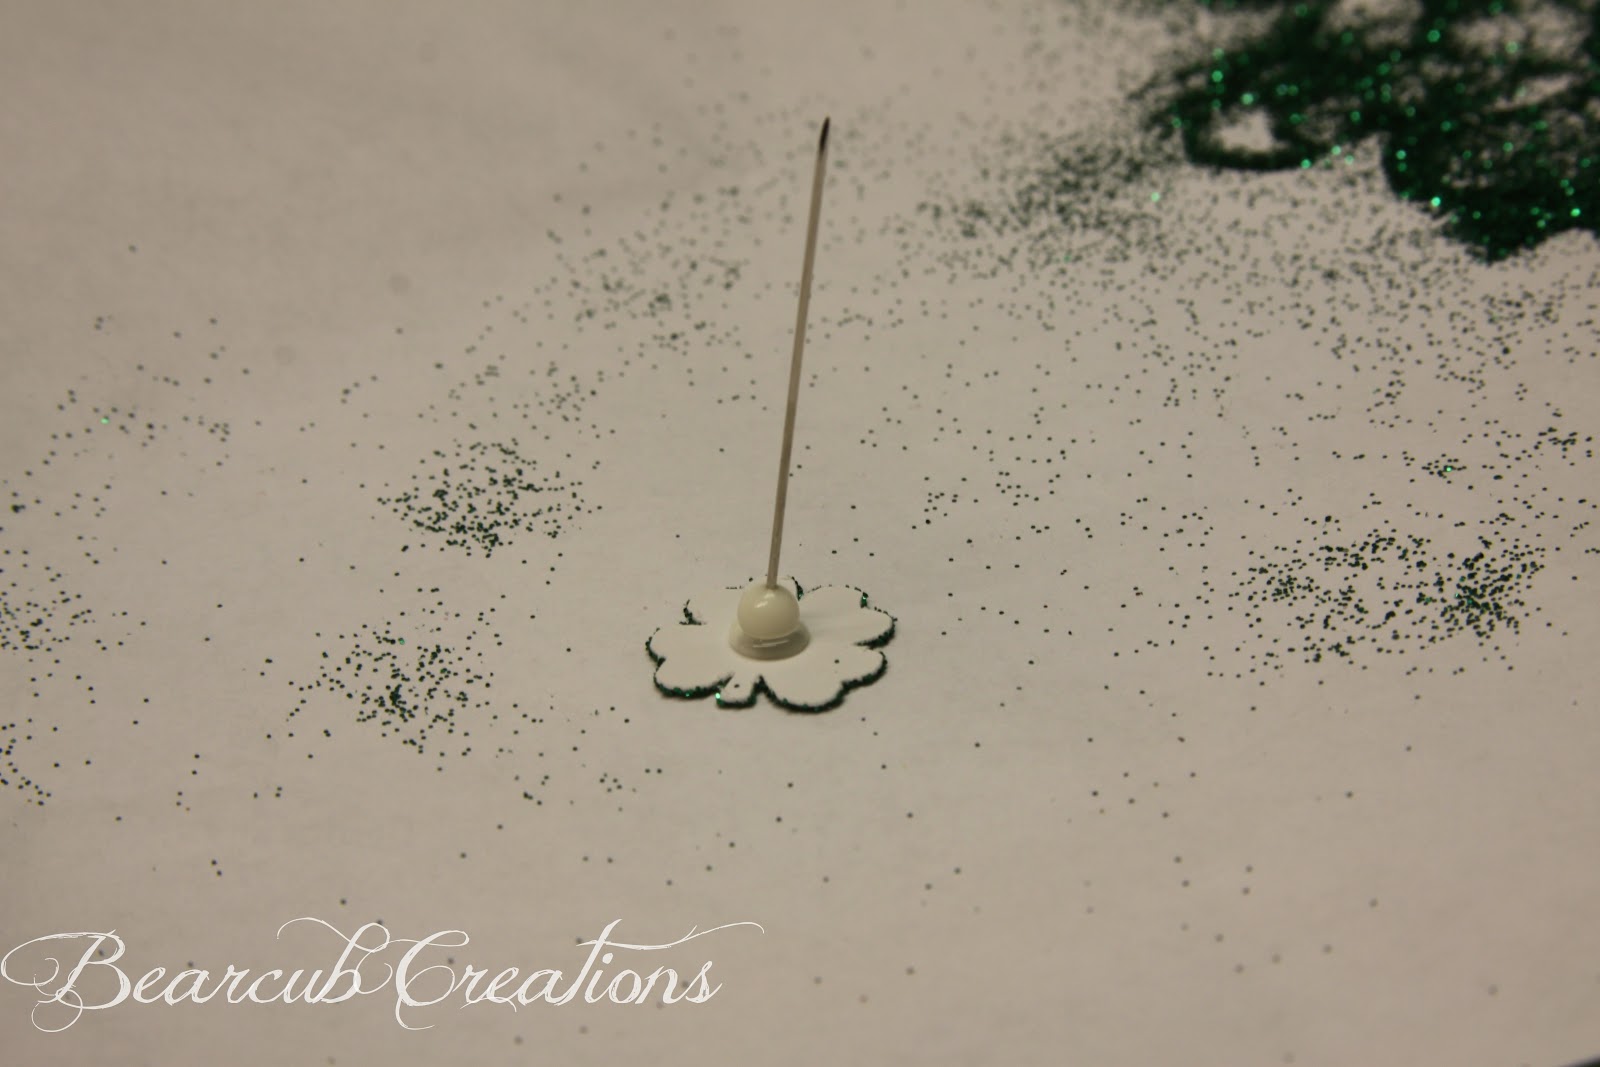
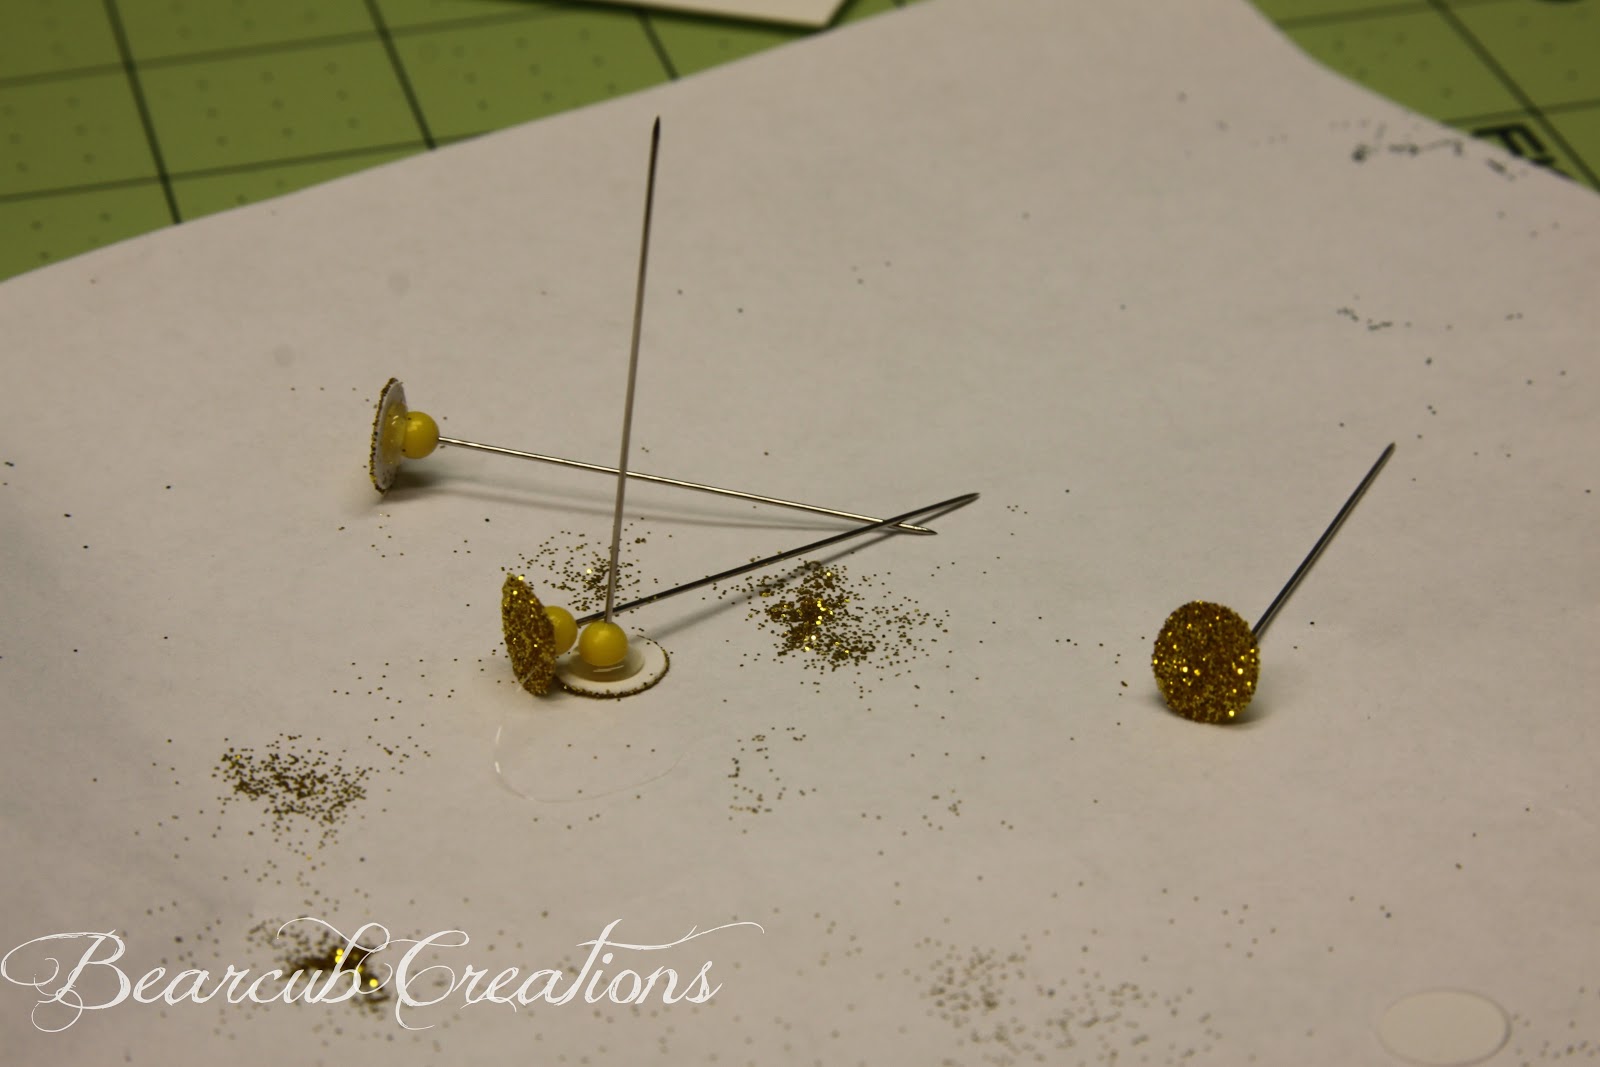
Then peel the white siding off to start glittering. If you are doing a shape that has multiple colors, remove only the white part of the shape you want in that color, glittering the part that is the darkest color first! This is important so that you don't "contaminate" the lighter colors.
For the tulips, all the glitter colors were about the same as far as darkness, so we started at the top. As you can see, some of the pink glitter stuck to the stem area, so I used a glue pen to run over that area and glittered the space, and it worked wonderfully!
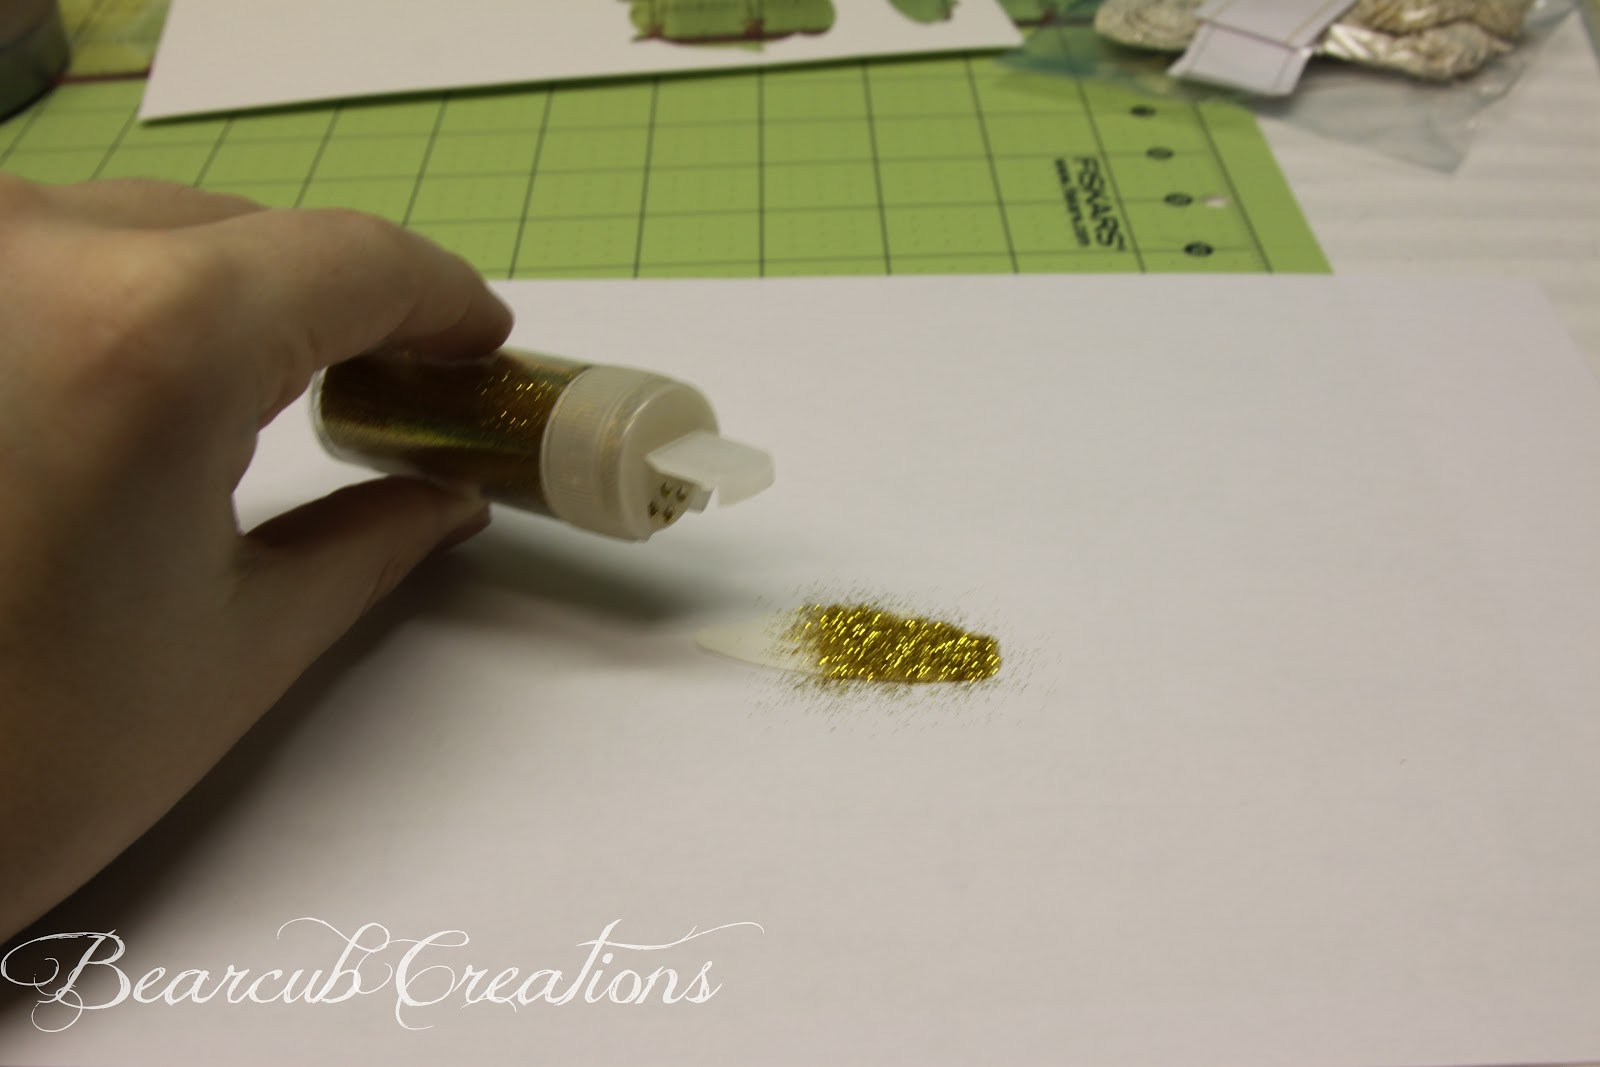
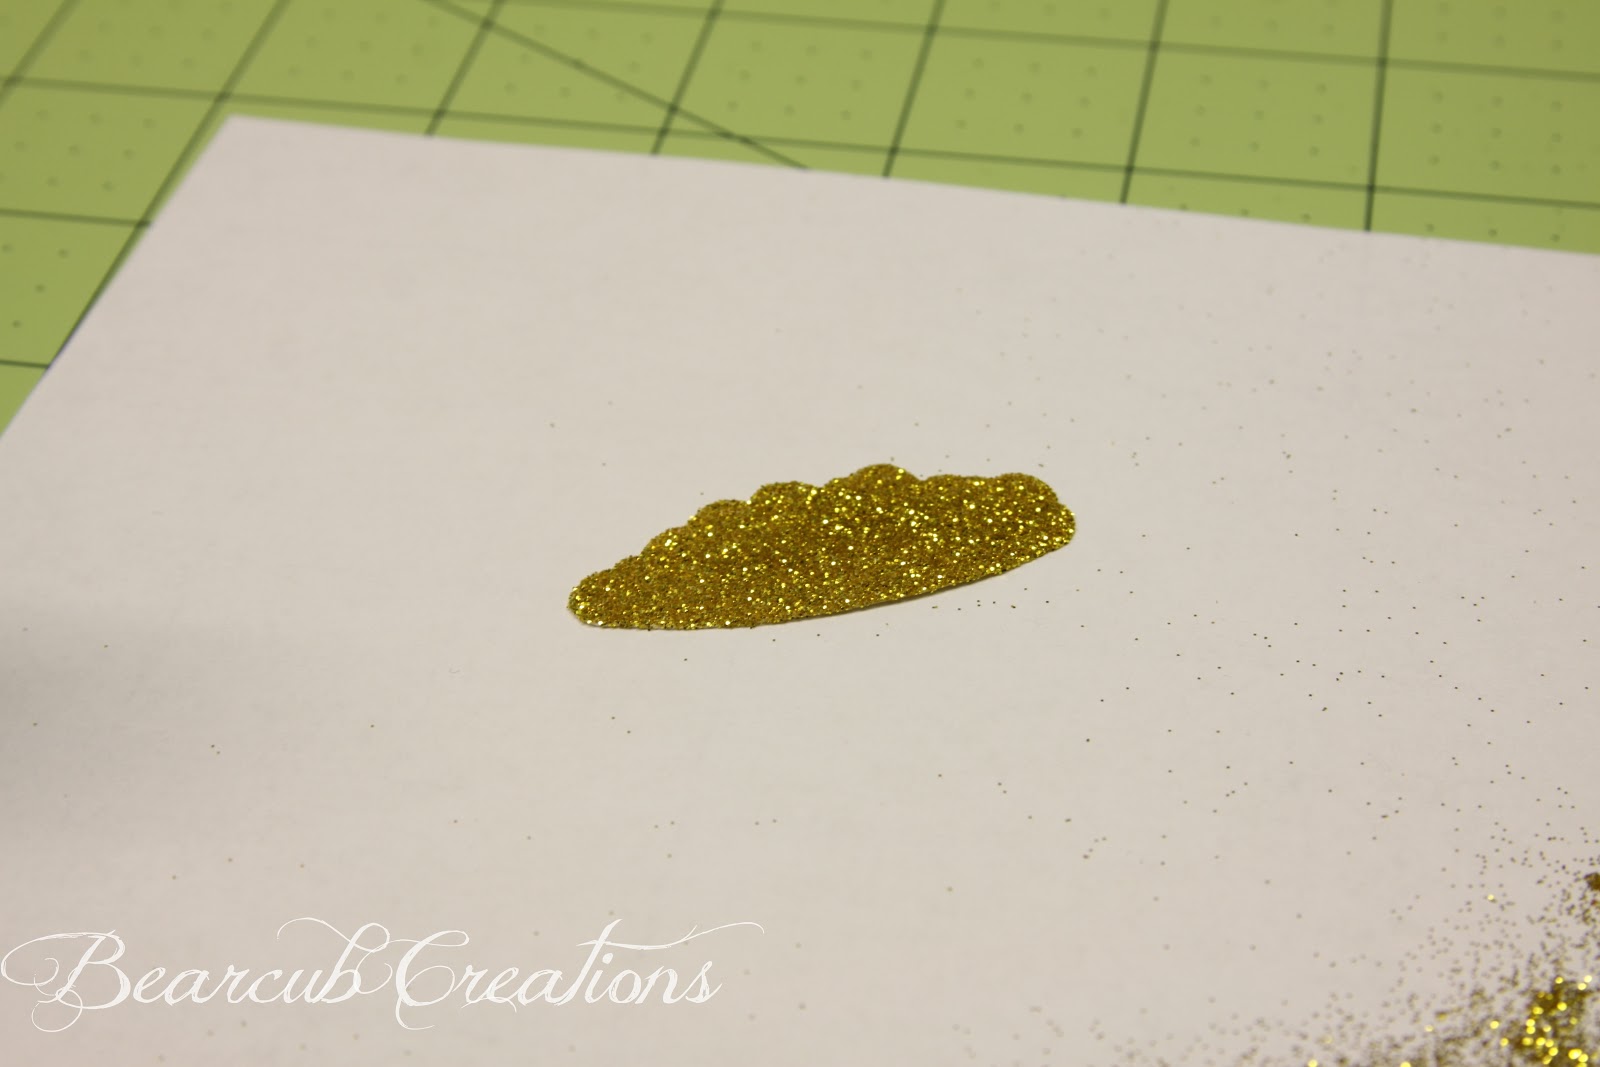
Shake the glitter over the clear sticky adhesive. I found that using my finger to press the glitter onto the adhesive helped it to stick better than anything else. I also rubbed in a circular motion to make sure it all stuck. Knock the glitter off onto a clean piece of paper, tapping the back to get extra off. Make sure the whole space is covered, then pour the remaining glitter into the container so you don't waste it. Continue this process until all the shapes have been glittered. For the bow on the tulips, we stuck the bow on top of the glittered surface. That is the great part about the Double-Sided Adhesive because you can lay images on top of each other.
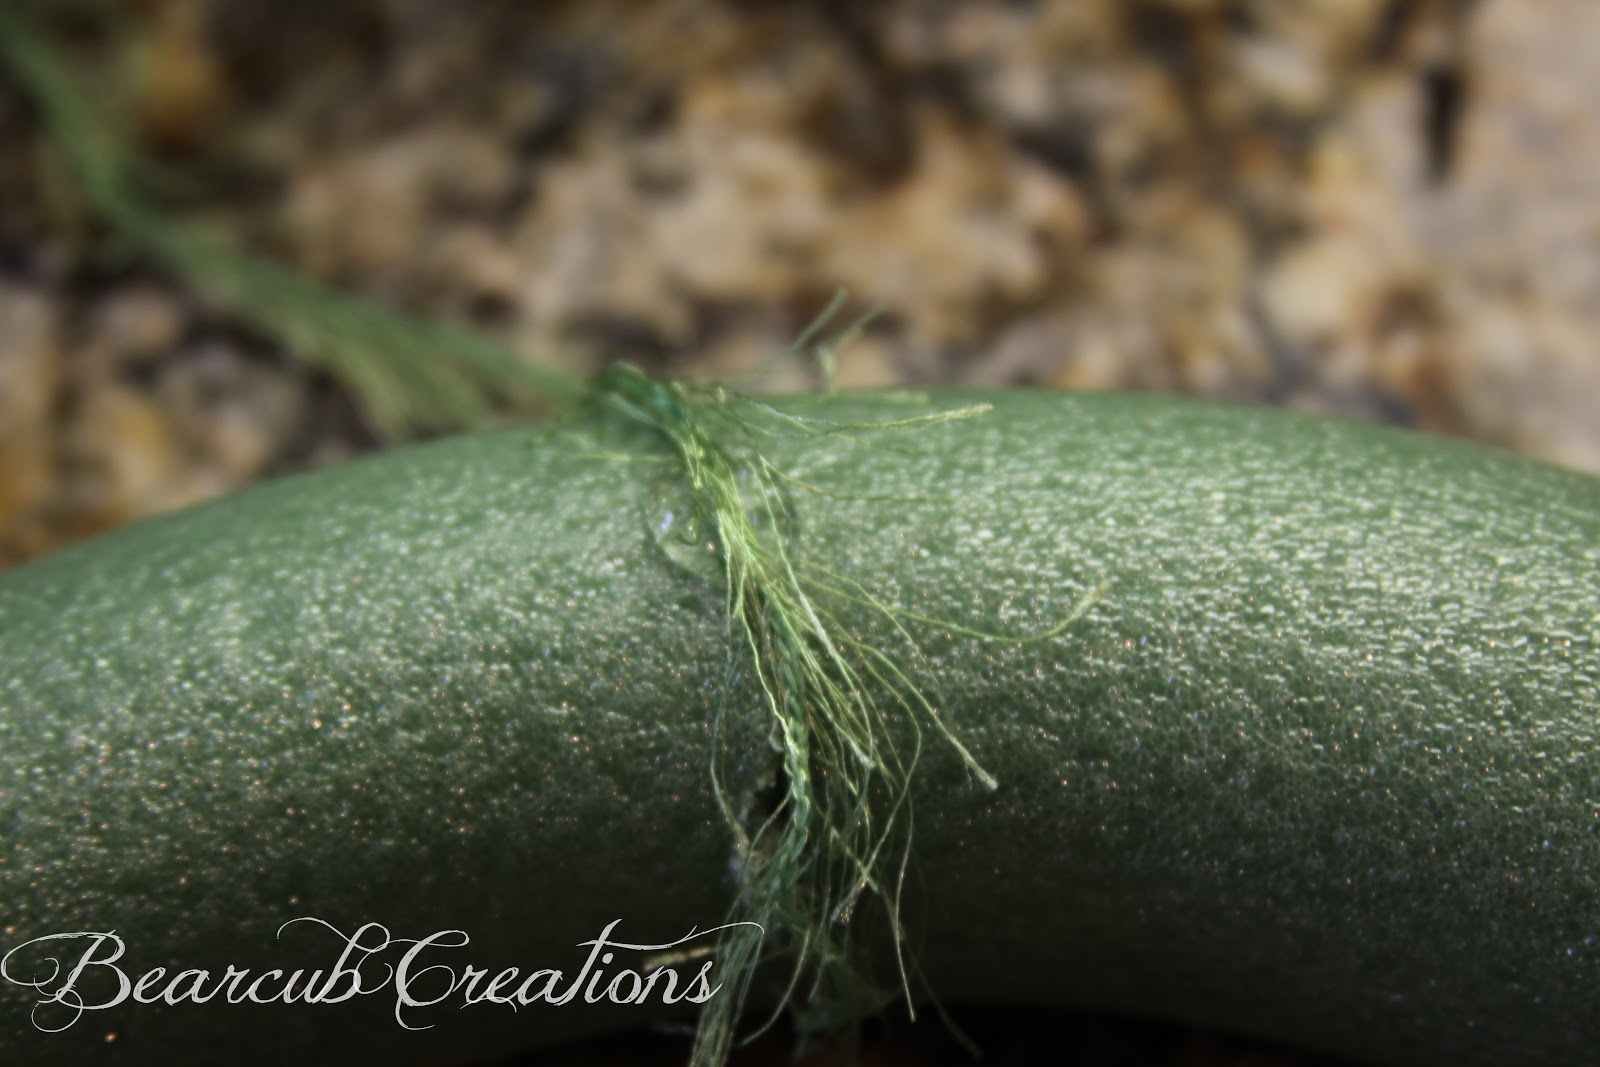
Because the bunting flags were made with burlap, the glitter liked to stick into all the crevices. To get the glitter to come off of that area, use an eyebrow brush or something similar (this is a brush that came with Aston's bottles.)
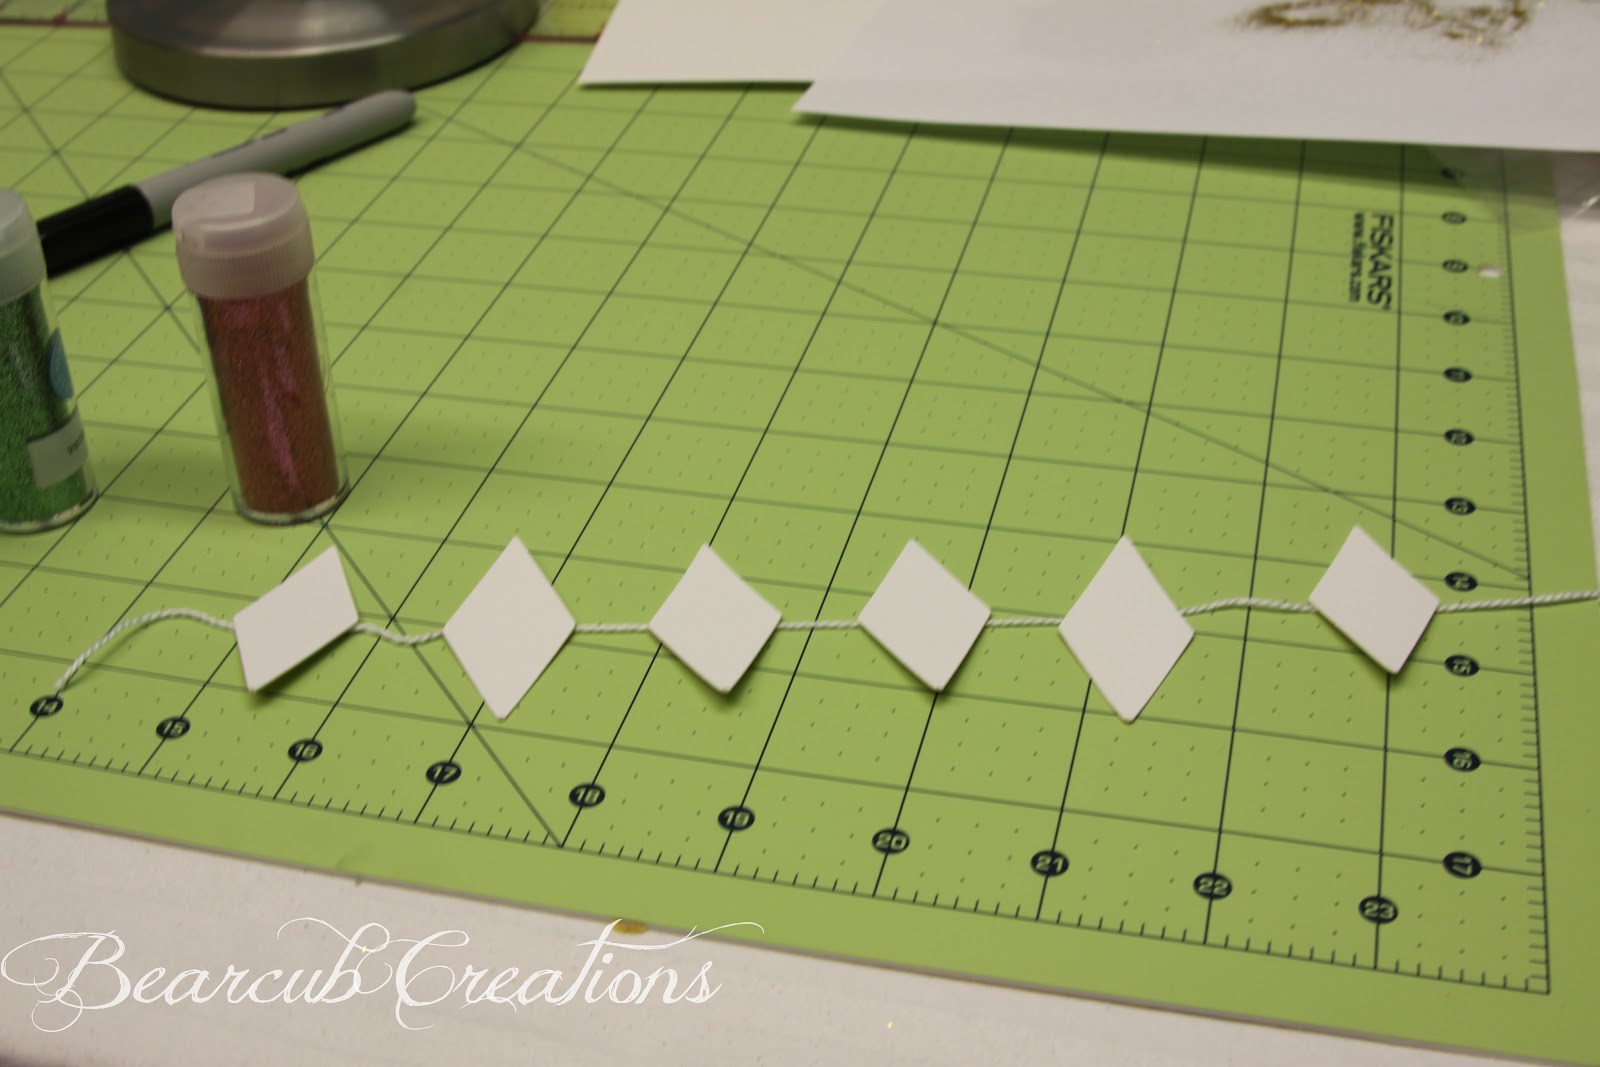
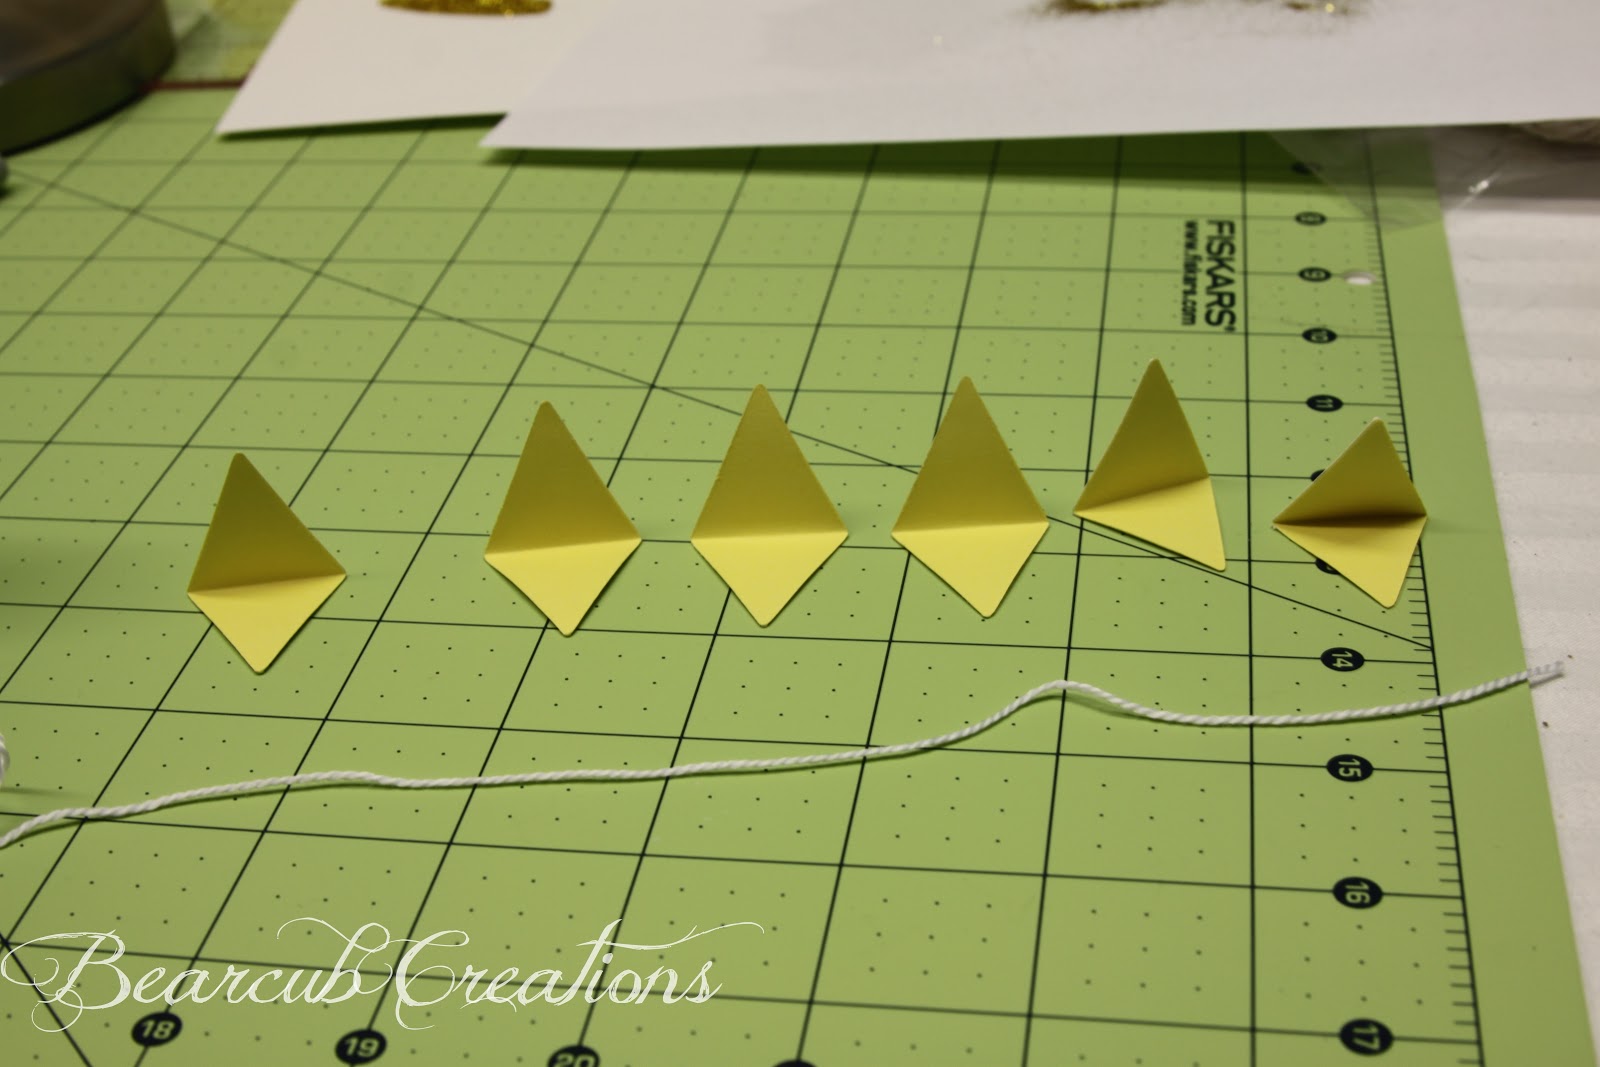
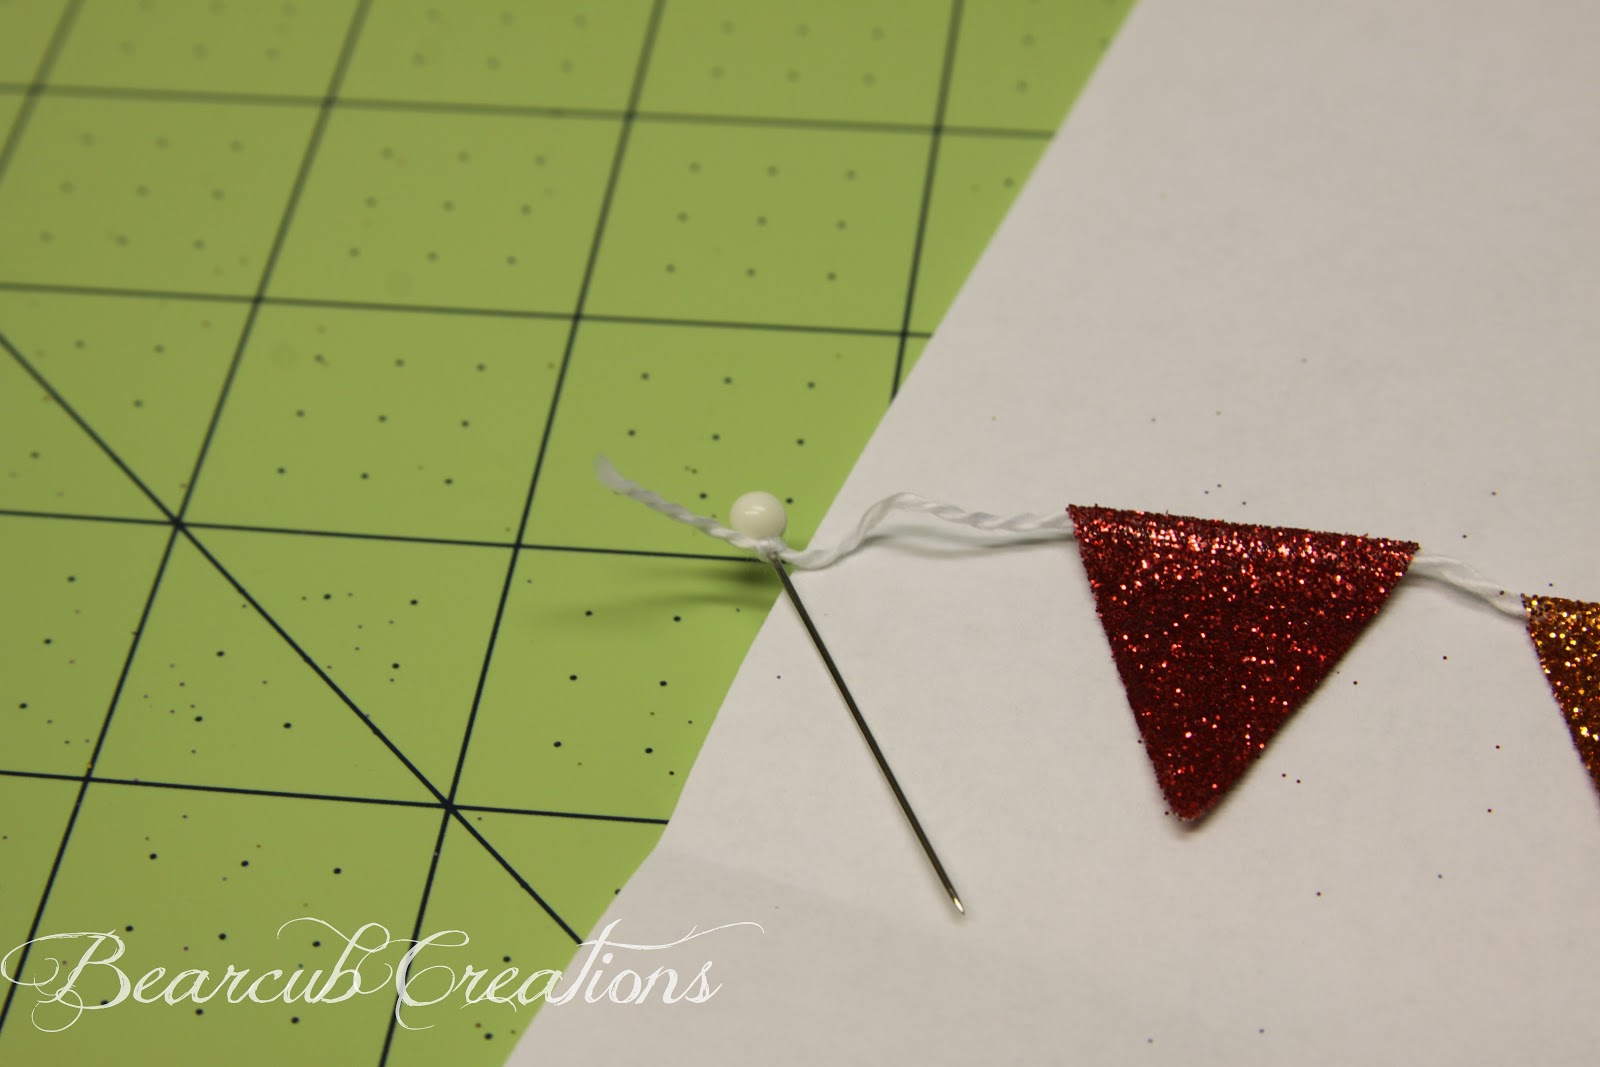
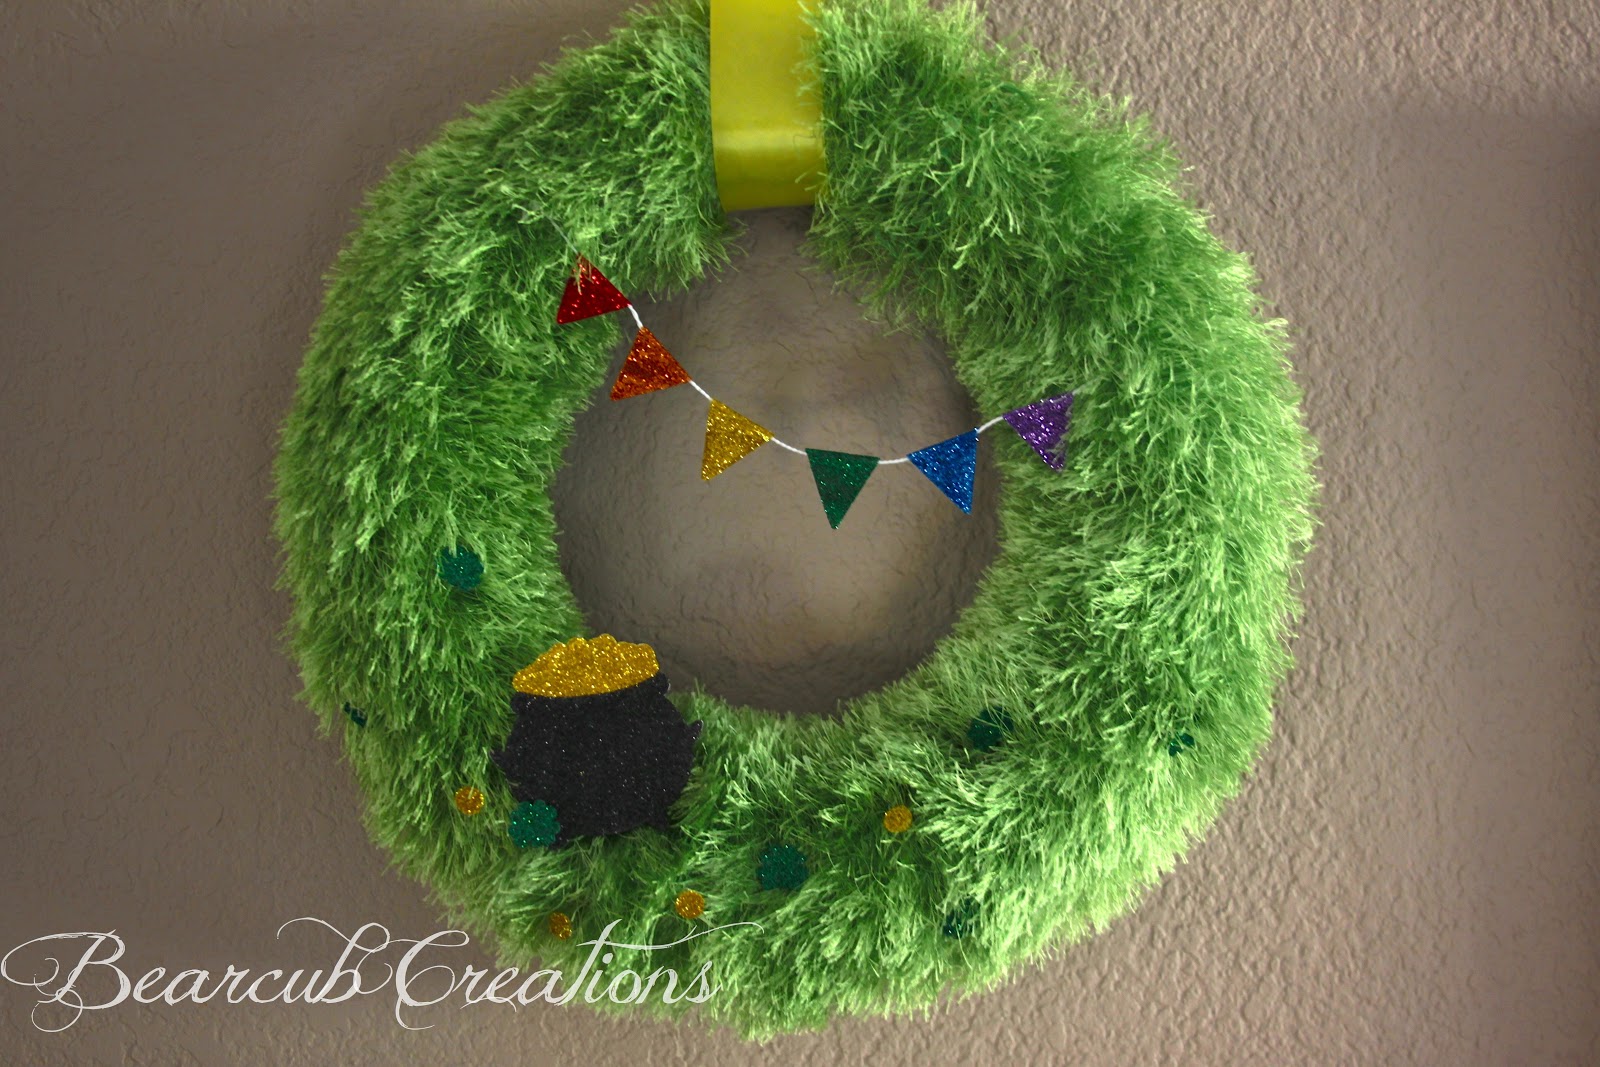
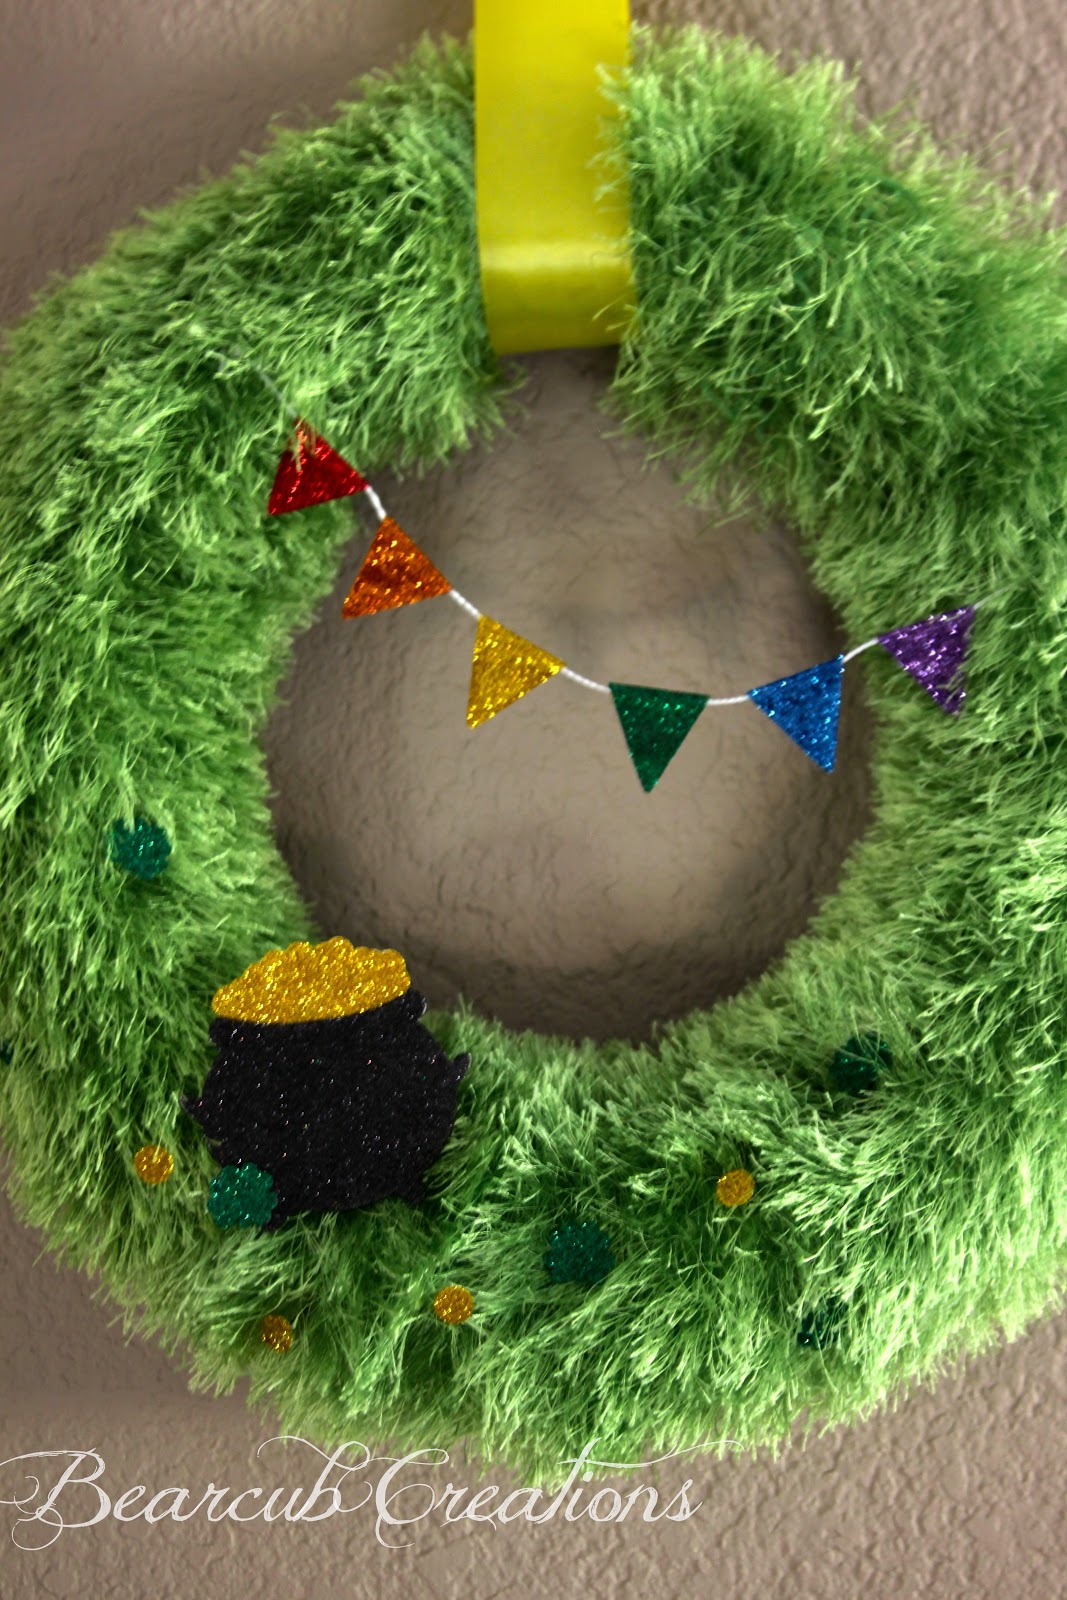
When all the shapes and letters are glittered, string the bunting flags onto a ribbon and it's ready to be hung!
 This is our Spring Mantel downstairs. So springy and fun!

SO...Do you want your own Silhouette cutting tool AND Designer Edition Software?
Well, you can right now with a great deal from Silhouette!

I LOVE all that I can do with my Silhouette, and can't wait to play with all that I can do with the Designer Edition of the software! I think you would love it too!

Right now through March 8th you can get a Silhouette Portrait with the Designer Edition Software included for just $179.99 or the Silhouette Cameo with the Designer Edition Software for just $269.99. (Those are GOOD deals!) Already have a machine? You can get just the Designer Edition Software for $24.99, half price! 

Just use the code BEAR to take advantage of this great offer!

This deal runs from February 28th - March 8th!

And don't forget the code word is BEAR!

Visit thecsiproject.com

Linking Up with: Delightful OrderSomewhat Simplebloom designsBlooming HomesteadThe Life of Jennifer DawnThe Lily Pad CottageSweet Little GalThe CSI Project

Wednesday, February 27, 2013

What I Wore Wednesday #2

Ok, so if you did see my post last Wednesday, I took a big brave (for me) step and posted pictures of just me by myself in what I am wearing. I have decided to join Lindsey from The Pleaded Poppy for What I Wore Wednesday. And I have to say it has really encouraged me to get dressed and look good every day. I however am bad at taking pictures of myself in what I am wearing... my new goal this week. But I did actually get dressed in cute things most days, so it's working so far! It also helps that it has been so nice out in So Cal! Okay, onto the few pictures I have from the week :)

 Jeans: Old Navy, Shirt: Gap Outlet, Shoes: Target
 I just love this sweater and forgot to take a picture of it Friday. It was from Old Navy 2 years ago and it just screams Spring to me!
Jean's: Old Navy, T-shirt: Target, Cardigan: Nordstroms, Scarf: I don't know
 Jean's: Gap, Shirt: Gap Outlet
Shirt: Target. I just love there frilly shirts! Cami: Forever 21

pleated poppy


post signature

Tuesday, February 26, 2013

Alphabet Dates: E Date

If you haven't seen yet, Maxwell and I decided to spice things up with our dates and we began Alphabet Dates last spring. As you can see we haven't stuck to our plan of doing one a month but we are plugging away at them. Maxwell is just bad about remembering it's his turn to plan the next date. For information about the whole thing check out our A date post.
So E date was Maxwell's and as you can see if you've been following me for a while, he's had a good 5 months to plan this date :) So last week, he finally took me on our E date. It was titled "Escape! Escape!" We "escaped" the hippo for an afternoon and went to on of our favorite places to feel like we are tourists and we went to Old Town. We had Cosina Espanol at Miguels, walked around Old Town, and just spent time together. It was a beautiful day and it was very nice!

 Enjoying the warm weather!
 I got ice cream! My favorite!
 And Maxwell got tea from a very fun tea shop down there!

 We were both very happy and had a wonderful time!
We ended our date taking a little catnap in the car as we waiting for the grandparents to return with our Hippo :)

Are you doing anything fun to spice up your dating relationship with your husband or wife? If so, what? I'd love to hear it!
post signature

Monday, February 25, 2013

Meal Plan Monday # 6

I hope you had a wonderful weekend! I found out that I had been featured on some blogs and websites this week and was so super excited! You can see which one's on my Facebook page.

Monday- Flank Steak Beef with Snow PeasRice
Tuesday- Chicken Marsala, Rice, Zucchini and Carrots
Wednesday- Mexican Stuffed Pepper
Thursday- Crock Pot Baked Potato Soup
Friday- Herbed Pork Tenderloin, Pasta-roni, Veggie
Saturday- Out: Birthday Party

What are you having for dinner? Trying any fun new recipes? I'd love to get some new ideas!
post signature

Friday, February 22, 2013

Teriyaki Chicken

This is one of Maxwell's favorite meals! It has been a while since I've made it but it really is so so yummy!

Teriyaki Chicken Recipe

4 Chicken Breasts
2 tablespoons Olive Oil
1/2 cup brown sugar
3/4 cup white wine
3/4 cup chicken broth
3 tablespoons of soy sauce
1 shallot, thinly sliced
2 teaspoons corn starch
1 teaspoon soy sauce
sprinkle of red pepper flakes (optional)
  1. Saute Chicken Breasts in about 2 tablespoons of olive oil, about 4 minutes on each side over medium-high heat or until golden brown. Remove chicken from pan and set aside.
  2. Thinly slice shallot and saute in 1 tablespoon of oil until they start to become translucent.
  3. Add white wine and soy sauce and let reduce by half. Then add the chicken broth
  4. Add brown sugar, stirring it in until dissolved. It should start to thicken slightly. Then add red pepper flakes if you like a little kick.
  5. To thicken the sauce, combine the corn starch and 1 teaspoon of soy sauce, to make a slurry. Then add the mixture into the pan stirring constantly. The sauce should thicken quickly at this point. 
  6. Return chicken to pan to reheat and finish cooking. About 2 minutes.
  7. Remove chicken from heat and slice thinly. Assemble your rice bowl and enjoy!

post signatureLinked Up with: The Life of Jennifer Dawn

Thursday, February 21, 2013

St. Patrick's Day Wreath

Are you feeling as rushed this year as I am? Looking at the month to come, March is one crazy month! I'm never a huge fan when Easter falls in March, to me it's an April holiday but it is what it is. So I normally leave the Valentine's Day stuff up longer but this year has to be different!

Last week I received some happy mail from Silhouette. It was there Double-Sided Adhesive, perfect for glitter! So my mind started to race with what I was going to do with it and this little idea popped into my head.

Now the base of this wreath is also going to become the base of my Spring/Easter wreath in a few weeks. I love that this craft can keep being used especially when storage space is tight.

What you Need:

12" green foam wreath (green is better since you are using green yarn but white would be fine too)
2 Lime Green Fun Fur Yarn
Hot Glue Gun
Patience :)
Silhouette Double Sided Adhesive
Glitter (I used some from Silhouette and some Martha Stewart)
Straight Pins
I saw this cute wreath on Pinterest last year and have been dying to make it myself. The version I had did not have the original source but I found it finally! I wanted to change it up a little bit and add my own twist to and this St. Patrick’s Day wreath turned out perfectly!

First, put a dot of hot glue on the back of the wreath and play the end of the yarn on top of it. Allow the glue to dry and then start wrapping. This is VERY time consuming but easy, so do it as you watch TV or watch your kid’s play. I found that wrapping it around multiple times then scrunching it all together made it go more quickly. When you reach the end of one bolt of yarn, tie the two ends together to continue to wrap. At the end, using hot glue, glue the end of the yarn into the wreath, against the foam.

 Once your wreath is done, it is time to do the decorations. For this portion, I used my Silhouette Cameo and Silhouette's Double Sided Adhesive.
Using the Silhouette Software, cut out the shapes for my wreath. 
The first shape I worked on was the Pot of Gold. Cut out the shape on both white card stock and the Double Sided Adhesive so that I could mount the shapes.
Remove the yellow backing (Not pictured) and attach the sticky side onto the white card stock. This gives the shape some sturdiness. 
Then remove the White side of the adhesive and glitter it.
Then attach the "gold" to the top of the pot laying it on the sticky side that was ready for glitter. I glittered the pot with black glitter and was careful not to get any black into the gold.
Once the pot is glittered, use hot glue and attach these sewing pins to the back of the pot and stick the pot onto the wreath.
Next came the Rainbow Banner. I used a diamond shape from the Silhouette software and cut out 6 diamonds. Then measured the amount of string I would need based on the spacing of the banner.
Then fold the diamonds in half.
Again, remove the yellow backing and fold the diamond over the string so that the string is now inside the top of the triangle. Repeat with all 6 diamonds.
Then remove one of the white sides of the now folded in half and stuck to the string diamonds. It should be a clear looking piece of adhesive. Glitter each with on of the colors of the rainbow (Red, Orange, Yellow, Green, Blue and Purple)

When all 6 banners are glittered, tie a sewing pin to the end of the string on each end and attach it to the wreath.
 The last piece is the cloves and gold coins. Cut out small clovers and coins, remove the yellow backing and glitter that side. Attach a pin to the back of each using hot glue and stick into the wreath where you see fit.
 And then you have a beautiful wreath to hang! I used yellow ribbon to tie my wreath up on our wall.
 I LOVE how this turned out!

What St. Patrick's Day Craft are you doing? Or are you skipping straight to Easter? I've been so torn :)

Want to stay up to date with what I'm doing? Follow me on Facebook!
post signatureLinked up with: Blooming HomesteadSomewhat SimpleDelightful Orderbloom designThe Life of Jennifer Dawn, Six Sister StuffCrafty Scappy HappyWhipperBerryLil LunaThe Lily Pad Cottage
Blogging tips